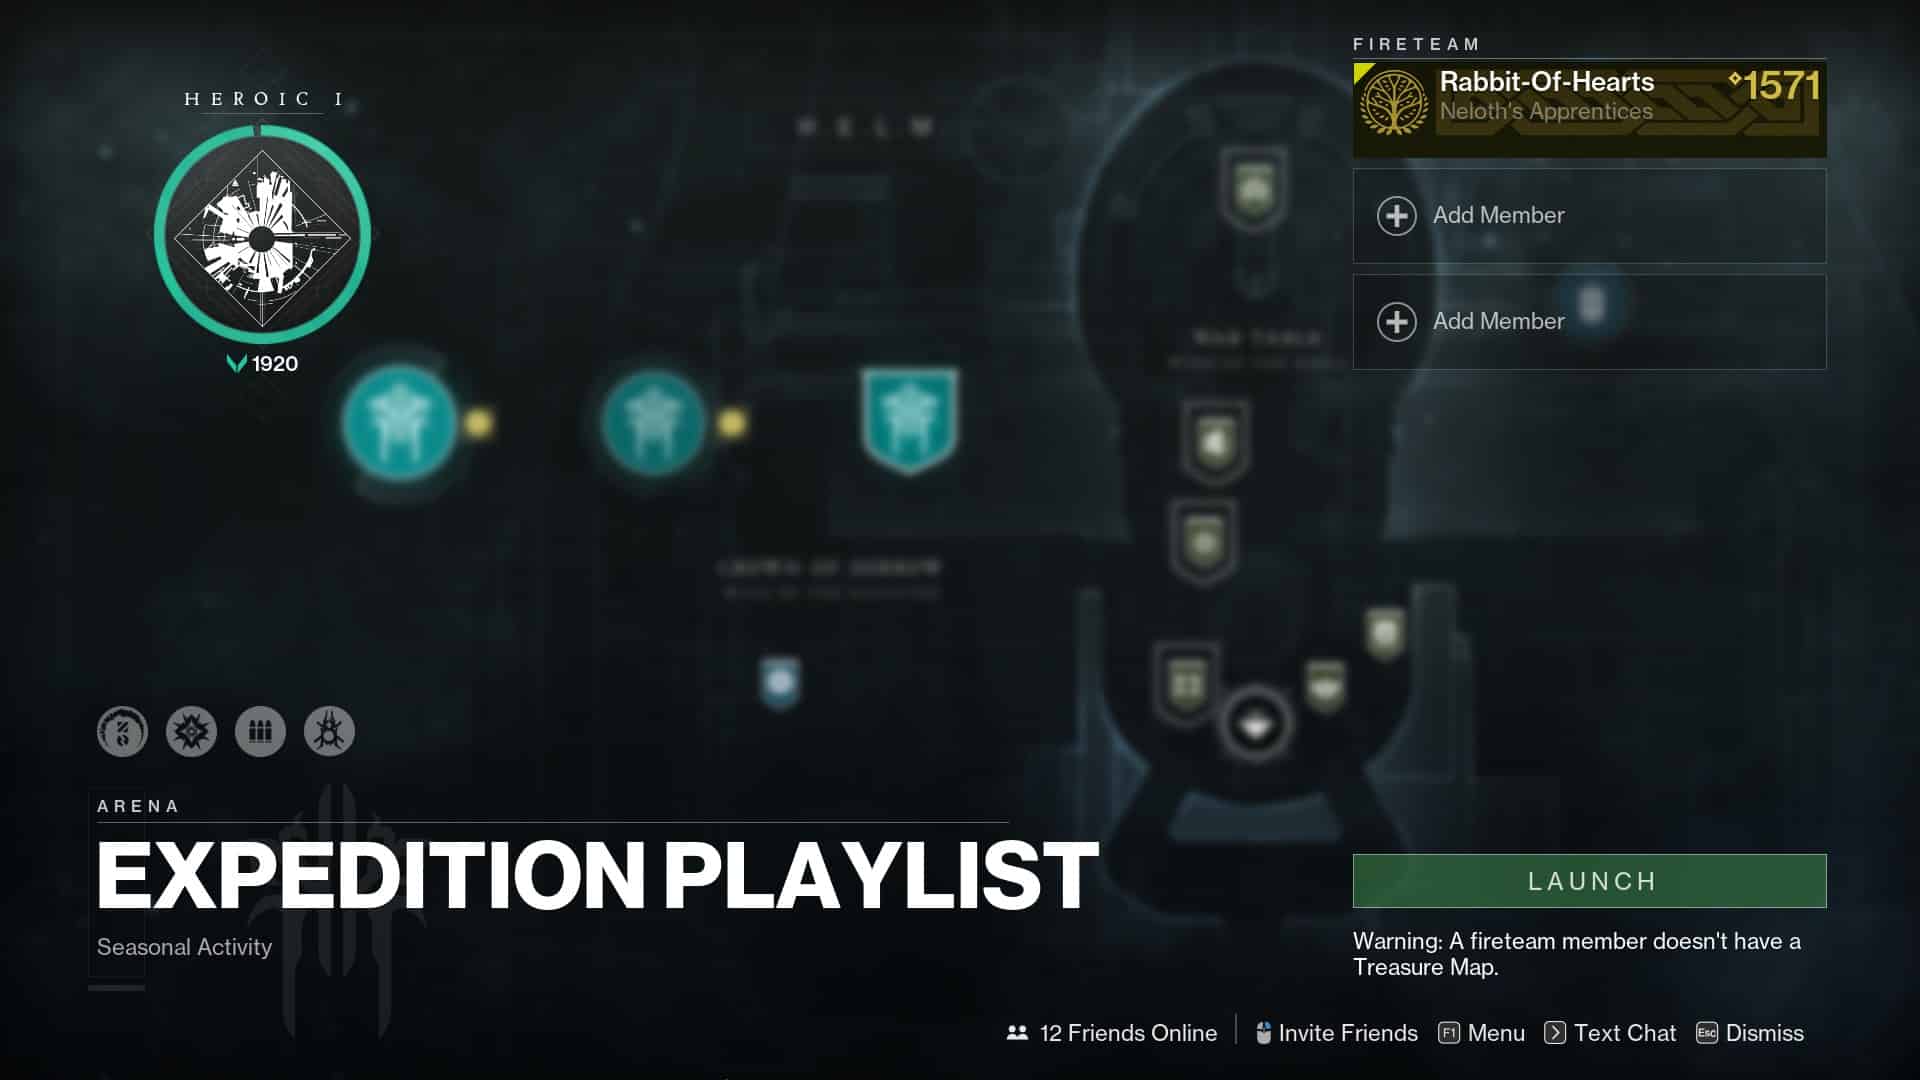
Destiny 2’s Expedition: Europa is one of the new variations of the Expedition activity playlist added to the game during Season of Plunder. Bungie is spoiling the Destiny 2 community with this season – we’ve got three brand new activities in the form of Ketchcrash, Pirate Hideouts, and the subject of this guide – Expedition.
I’m going to run you through how to complete Expedition: Europa – the Expedition mission that was active for the first week of the season. It’s a simple mission, but it’s a core part of the season’s gameplay loop – so it’s important.
Every Expedition after this one follows the same pattern and mechanic – just on a different planet. So, learn how to do this one and you’ll never have to learn another.
Destiny 2 – How to Complete Expedition: Europa
How to Complete Expedition: Europa – X Marks the Spot
Activate and Defend the Drill

This is pretty much what you’re going to be doing for the entirety of Expedition: Europa. When you first load into the activity – you’ll notice your objective marker pointing you towards a Fallen drill – follow it.
That drill is digging for buried treasure and you’ve got to defend it. Waves of enemies will spawn in, but it’s not too difficult to stay on top of them with some decent AD-control builds. Focus on killing things and you should be fine.
There will also be a flag on a platform next to the drill that lets you summon a member of your pirate crew if you fancy the extra help.
Fill Up the Treasure Hoard

Every once in a while, the drill will spit out treasure in the form of Engrams. These Engrams are the same ones as those in Grasp of Avarice if anyone played that Dungeon during the 30th Anniversary celebration. You can pick up and throw these Engrams. Specifically, you’ll want to pick them up and throw them at your Treasure Hoard – this is the big weird-looking Fallen vehicle next to the drill. Don’t worry, your objective marker should highlight it for you.
The Engram will do all the hard work, just aim and throw using your shoot button. As long as you’re aiming in the relative direction of the hoard, your Engram should enter it just fine. Just bear in mind that the Engrams each have a timer once they spawn. If no one picks it up within 15 seconds or so, it will disappear.
You’ll need to continue this process of defending the drill and filling up the hoard until the progress bar under your objective is full.
Escort the Treasure Hoard

Once you’ve depleted this part of Europa’s treasures, you’ll need to stand next to your Treasure Hoard to escort it. You’ll know you’re close enough when a small progress meter appears at the bottom of your HUD. You’re going to be escorting the hoard to 50% of this meter, at which point it will stop next to another drill.
How to Complete Expedition: Europa – X Marks the Spot Part II
Defend the Drill / Fill up the Hoard

This part of Expedition: Europa is pretty much exactly the same as the other one – you need to defend the drill until it spits out some treasure, throw that treasure into the hoard, and continue defending it until it spits out more. Rinse and repeat until your progress bar is full.
The only difference between this drill and the one before it is the positioning. Previously, your Treasure Hoard was right next to the drill. That isn’t the case this time around. Instead, your hoard is at the bottom of a hill, and the drill is at the top. This means you’ll need to be a little more careful with your aim.
This section is a little tougher than before, purely because of the number and range of ADs, so take care and make sure you stay on top of clearing out enemies.
Escort the Treasure Hoard
Again, once your Treasure Hoard is full – you need to escort it. Rather than escorting it to another drill, though, you’ll be escorting it to an area for pickup. Walk next to the hoard and follow it until its progress meter is full, at which point you’re on to the final part of Expedition: Europa.
Dealing with the Jammers

During each drill encounter, there’s a random chance that your progress will be halted by a jammer. You’ll get some dialogue when this happens, and your objective will change. Your HUD will point you in the direction of the jammer, so hop on your Sparrow and race over to it.
The jammers aren’t too far away from the drills, but it is a notable distance on foot. When you arrive, you’ll see the jammer protected by an invulnerable shield. Kill all the enemies around the jammer to disable the shield, at which point you can destroy the jammer itself. Once you do, head back to your drill and proceed as normal.
Again, there’s a random chance for this to happen during each drill-defending stage – so don’t stress if it never happens to you.
Dealing with the Champion

Like the jammer, this is a random encounter that has a chance to activate during each drill. Again, this isn’t guaranteed on every run.
At some point during the defense stage, the Drifter will give you some unique dialogue. When that happens, a Cabal Champion called a “Ruffian” will spawn. This Champion will be shining like the Avaricious Treasurers from Sever during Season of the Haunted.
Killing this Champion isn’t necessary. In fact, your objective won’t even update. If you do, though, you’ll get a couple more treasure Engrams to throw into your hoard – speeding up the entire process by a substantial amount.
Defend the Treasure Hoard

Once you’ve finished with both drills and escorted the Treasure Hoard, you’ll need to defend it. This simply involves killing all the ADs that will be spawning around you, including a pretty chunky Cabal boss.
Once everything is dead – the hoard will be sucked up into your Ketch, and the mission will complete. You can then collect your rewards chest, and if you have an active Treasure Map in your Captain’s Atlas, you’ll also be able to dig up some buried treasure.


