The Concealed Void Lost Sector in Destiny 2 sits in the middle of the pack in terms of difficulty. It’s no Excavation Site XVII, but it’s far from the longest Lost Sector that Destiny 2 has to offer. On average, a run of the Concealed Void Lost Sector on Legendary will take you three minutes – so you can farm it fairly efficiently. Don’t bother with the Master variant here, though. The small Exotic drop-chance increase isn’t worth how much longer it’ll take you to finish each run.
I’m going to go through the Concealed Void Lost Sector in detail here. I’ll run you through what modifiers you need to consider, what Champions you need to deal with, give you some class and loadout recommendations, and walk you through each section of the Lost Sector step-by-step.
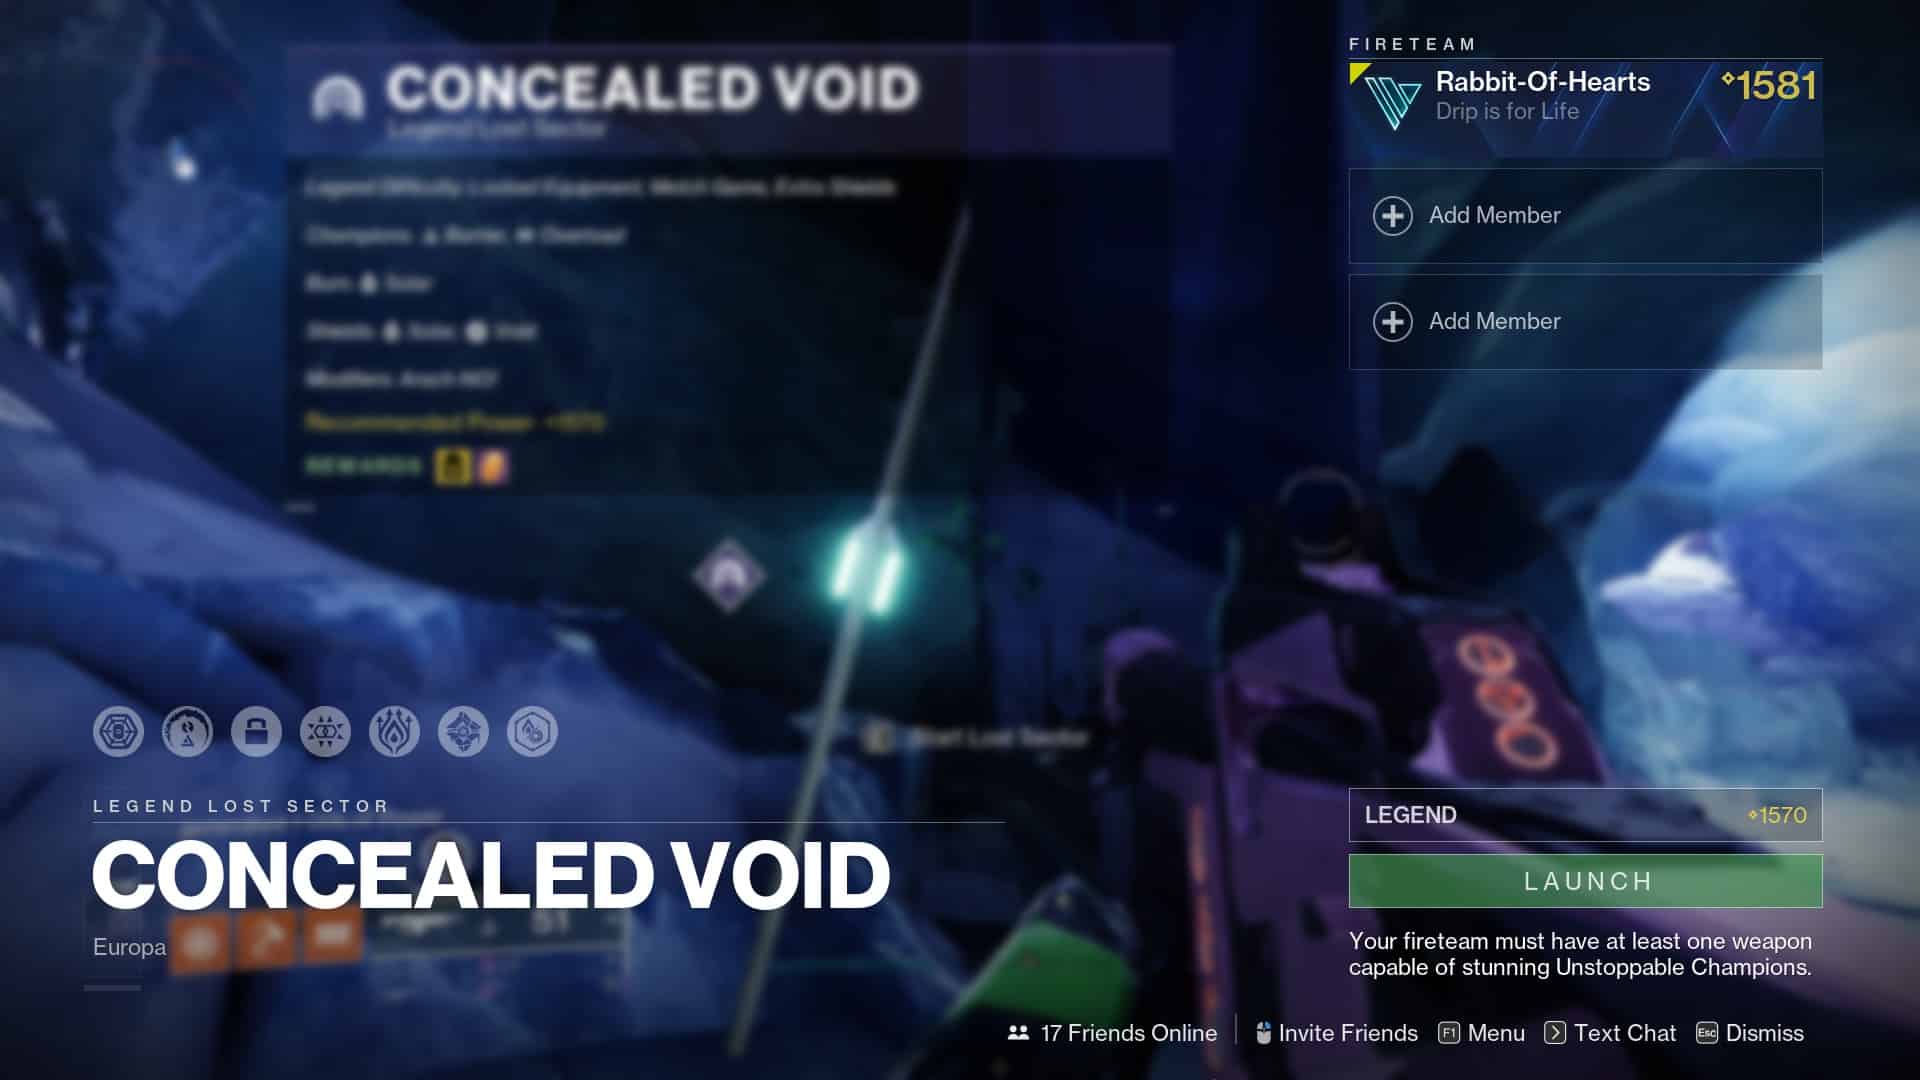
Concealed Void Lost Sector Guide
Average completion time: 3 minutes.
Concealed Void Lost Sector Modifiers
Champions

- Barrier – There’s only one Barrier Champion in the entirety of the Concealed Void Lost Sector. It’s in an awkward spot – mid-air. This means we don’t need to spec for it, provided we’re capable of outputting enough damage to nuke it before it gets its shield up.
Every class is capable of this – but some will have an easier time than others. Titans – who’ll have the easiest time with this Lost Sector, can throw some buffed-up Hammers. Hunters don’t have any class abilities capable of matching that damage as easily – so they’ll have to rely on power weapons (more on that in a second). Warlocks, on the other hand, have Starfire Protocol. Two Starfire Fusion Grenades will one-shot a Barrier Champion, making that a great option for this Lost Sector.
- Overload – Unfortunately, you will actually have to spec for Overload. There are three Overloads altogether – with the first one being in an awkward spot right at the beginning of the Lost Sector.
We have Overload SMG this season, which is possibly the best Overload weapon type you can get. Funnelweb, the Ikelos SMG, and the Calus Mini-Tool are all T1 weapons, so I recommend running one of those to stun the Overloads, as well as to deal with general Add-clear. Void and Stasis users also get an Artifact Mod that lets your grenades stun Overloads, making those two subclasses viable here, too.
Shields

The featured shields for Concealed Void during Season of the Seraph are Solar and Void. In theory, anyway. When you actually jump into the Lost Sector, though, you’ll realize all you have to worry about are some Heavy Shanks with Solar shields. There is one Void shield in the Sector – a Servitor that spawns shortly after you trigger the boss fight. Your strategy going into the Sector should be to nuke the boss before this Servitor spawns – meaning you just have to spec for the Solar shields.
Le Monarque, despite being Void, can take down the shields with two poison arrows. However, I wouldn’t worry about the shields too much. There aren’t enough of them to be a problem, and a decent build will be able to deal with them without needing to match element types.
Burn – Solar

The Concealed Void Lost Sector has Solar burn enabled – which works perfectly with the Calus Mini-Tool and Solar builds Starfire Warlocks. On top of that, it means that Hammer Titans are going to dominate this Lost Sector. They have the easiest time of this whole ordeal bar none – being capable of taking out Champions with just the Throwing Hammer alone.
Hunters will also have a fairly painless experience with Blade Barrage and a Radiant Throwing Knife build. However, it’ll be noticeably more difficult than a run on a Titan. Alternatively, you could run a Gyrfalcon’s Hauberk Hunter which, despite not being Solar, will make mincemeat of this Lost Sector.
Warlock is about tied with Titan in terms of the power of its Solar subclass. Starfire Protocol Fusion Grenade builds are dominating the META right now, even without Solar burn. This build’s grenades can two-shot Champions, and melt the boss in seconds. If you’re running Warlock, it’s hard to not recommend it.
Arach-NO!

There’s not too much to say on the Arach-NO! modifier. It causes Vandals to drop slow-mines when they die – which can cause some trouble with the platforming sections of the Sector. Once you get used to the layout of the map and the spawns of the Vandals, though, it’s not a problem at all.
Concealed Void Lost Sector Loadout Recommendation

- Wastelander
Honestly, I didn’t even use my kinetic weapon for my Concealed Void runs. My logic behind running it was to save Parasite ammo on Overload Champions – but it was too inconsistent, and I wasn’t struggling with my heavy ammo, anyway.
- Calus Mini-Tool
Any of the previously mentioned SMGs will do the trick, but the Calus Mini-Tool takes advantage of the Solar burn, giving it a passive +50% damage that’s too good to ignore. Even if you’re not running a Solar subclass like me, I would recommend running this weapon with Overload SMG.
- Parasite
Parasite makes this Lost Sector infinitely more manageable. It’s better here than Gjallarhorn, Lament, any linear you use, and pretty much every other power weapon in the game. It takes a little bit of micro-management to handle your Worm’s Hunger buff, but once you get your route down – you’ll be killing all your Champions in one shot from it with ammo to spare for the boss.
Most important, though, is the fact that Parasite can reliably one-shot the Barrier Champion before it can put its shield up. This frees up our kinetic slot, and although I didn’t use my kinetic weapon – you might want to use a sniper to save some ammo on the Overloads.
Weapon Alternatives
Kinetic
Arbalest

If you find yourself routinely struggling to deal with the sole Barrier Champion on Legend difficulty, consider swapping Parasite out for an Arbalest.
Running an Arbalest means you don’t have to worry about shields, either – so you can opt to run a non-Solar bow in your energy slot.
Energy
Le Monarque

What can I say about Le Monarque that hasn’t been said already? It’s a great bow for endgame because of its poison arrows and ability to stun Overloads natively. If you’re struggling with Overloads with a legendary bow, this might be the solution to your problem.
The only issue with running Le Monarque in Concealed Void is that you’re giving up your Exotic slot for a primary – so you’ll be seriously lacking in the DPS department – and unless you’re running Hammer Titan or Starfire Warlock, you’ll have to use a kinetic scout or auto rifle to deal with the Barrier Champion.
Power
Gjallarhorn

Gjallarhorn is a great pick in most activities in Destiny 2, including the Concealed Void Lost Sector. However, it does perform like a weaker Parasite. It’s less reliable for one-shotting Overload Champions, and it’s next to impossible to one-shot the Barrier Champion.
As a result, running Gjallarhorn means you’ll have to run something else to deal with the Barrier, on top of an Overload-stunning weapon, too. It also has a weaker ammo economy, so it demands you use ammo finder mods.
If you don’t have Parasite – Gjallarhorn will do, but it’s not ideal.
Destiny 2 Concealed Void Lost Sector Walkthrough
Section 1 – The Opening

The opening of the Concealed Void Lost Sector is a little bit awkward. You’ve got two areas separated by half of a partition. Behind that partition is an Overload Champion. This guy is a pain – not only is fighting him around the partition dangerous, but he can bug out and teleport below the arena, in the Vex milk. If that happens, it’s going to lose you a chunk of time.
There will be a few Dregs and Shanks with the Champion. Killing a handful of them will give Parasite enough Worm’s Hunger to one-shot the Overload (provided it’s stunned), so make AD-clear a priority before you deal with the Champion.
Once the Overload is dead, you’ll have to kill a Solar Heavy Shank and a few Vandals – nothing difficult. It’s worth noting that if you’re running Concealed Void on Master difficulty, you’ll also have a Barrier Champion. That alone is enough to justify only running Legendary here – it takes far too long to deal with the increased number of Champions on Master.
Section 2 – Barrier Champion and Platforming

The next section of the Lost Sector consists of a couple of platforms that overlook more Vex Milk. When you first enter the area – there will be a few flying Shanks to your left next to the lone Barrier Champion present in this activity.
If you’re quick, you can kill the Shanks before the Champion shields them. It will, however, manage to shield all the dregs on the platform below where it floats. These Dregs will mess you up if you’re careless – so don’t underestimate them.
Parasite with Worm’s Hunger five or so will be enough to one-shot the Barrier Champion – even if you don’t get a direct hit. You’ve got a decent line-of-sight on all of the ADs in this entire section from the beginning – so use your primary to rack up more stacks of the buff if you need to. Once you have enough, get as close to the Champion as possible and take it out. Proceed through the section and you’ll have one more Overload to deal with at the end underneath a Vandal (kill the Vandal first). You might need to supplement your Parasite shot on this Overload – but it will die in one shot most of the time.
After killing everything – jump up into a short room with some Wraiths, deal with them, and proceed forward.
Section 3 – Explosive-Shank Hall

This is where your kinetic weapon will come in handy, if anywhere. This is the last section before the boss fight – so you don’t want to use your Parasite if possible. Ideally, you’ll save all your Worm’s Hunger. You can use it if needs be, though – I did.
Initially, you’ll be looking at a hallway across a chasm. There will be one Vandal for you to kill, a few Explosive Shanks, and an Overload Champion. Nine times out of 10, the Champion will teleport to a cubby on the left-hand side of the hallway. When this happens, you won’t be able to hit it. On the off-chance it teleports to the middle of the hallway, you can stun it and take it out.
When you take out all the enemies (not including the Overload if it stays in the cubby), jump across the platform into the hallway. This will trigger another wave of Explosive Shanks to spawn. Either deal with them or jump back over the chasm to give yourself more space.
Take out the Shanks, deal with the Overload however you need to – then proceed to the boss fight.
Section 4 – Boss Fight

The only Void shield in this entire Lost Sector belongs to a Servitor that spawns between five and 10 seconds after the boss does. The idea is to kill the boss before that happens. Failing that, you’ll have to hope that it shields the ADs in the area and not the boss itself.
Rushing the boss is the ideal strategy here because it lets us skip several waves of AD spawns, hence why we want as much Worm’s Hunger coming into this fight as possible.
Generally, your super and one or two Parasite shots should do the job. You might need to hit him a few more times if you don’t have a decent damaging super, but your strategy will remain the same regardless – hit it with Parasite or your power weapon of choice, then your super, then whatever else you need to push it over the edge.
Once the boss is dead, collect your loot from the chest and return to orbit manually. You’ll be brought back to the flag on Europa so you can start it all over again.
Class Guides for Concealed Void
Titan

Solar Melee Titans reign supreme here. They’re so strong that you can run through this entire Lost Sector just using your Throwing Hammer. When I was running Concealed Void on my Titan, I used a totally unique loadout compared to my other two classes – to great effect.
A Sol Invictus build with either Synthocepts or Wormgod’s, a One-Two Punch shotgun, an Overload SMG, and Tractor Cannon was getting consistent three-minute clears. Dealing with the Barrier Champion was awkward with this setup – but I could generally hit it with Tractor, then fly up to it and hit it with one or two hammers. I would die some of the time doing this – but the Champion would die, too.
Hunter

Golden Gun or Blade Barrage are both decent options. Golden Gun users should be using Celestial Nighthawk, while Blade Barrage mains will want to take advantage of Star-Eater Scales. However, I can’t really not recommend a Gyrfalcon’s Hauberk build for Concealed Void during Season of the Seraph.
Gyrfalcon’s Hauberk is tearing up the META right now. It provides insane Add-clear potential, and enough survivability to give Hammer Titans a run for their money. Sure, you don’t get the extra burn damage on your Super, but who needs that when you’re blowing up everything in sight?
Warlock

As it stands, I would argue Warlocks have the best Solar build in all of Destiny 2. Solar Titans are still doing some crazy stuff, but since the Worm God’s and Synthocepts nerf, they just haven’t been able to keep up with Warlock’s easy access to damage.
Starfire Protocol is obviously the play here. It’s going to give you 100% uptime on your Fusion Grenades, provided you juggle your abilities correctly and make good use of your Empowering Rift. These grenades, with the right build, will detonate twice for over 50k worth of burst DPS. Two of these will kill an Overload or Barrier Champion, while one and a precision hit from a Linear will do the same thing.
You might struggle with survivability a bit if you don’t spec into Well of Life or Heal Thyself, but that’s a build-crafting decision you need to make for yourself.