Wondering how to complete Ketchcrash in Destiny 2? Well, you’d want to figure it out pretty quickly. Ketchcrash is one of Season of Plunder’s main activities, so you’re going to be doing a hell of a lot of it over the course of Season 18.
Of course, not everyone has 10s of hours to dive into every new Destiny 2 activity to figure out all the nitty-gritty stuff. I do, though, and I’m here to help.
Season 18’s pirate theme isn’t for everyone – but I’m a sucker for it. I loved Grasp of Avarice, and I love everything here. If you’re on the fence about it, give it a try before you write it off. It’s more fun than you might realize.
I’ve figured out how to complete Ketchcrash so that you don’t have to. I’ve also gone through each step in the weekly Sails of the Shipstealer quest. On top of that, we’ll have guides on Expedition and Pirate Hideout shortly – so keep an eye out for those.
Until then, though, here’s how to complete Ketchcrash in Destiny 2.
How to Complete Ketchcrash in Destiny 2
Defend Your Ship
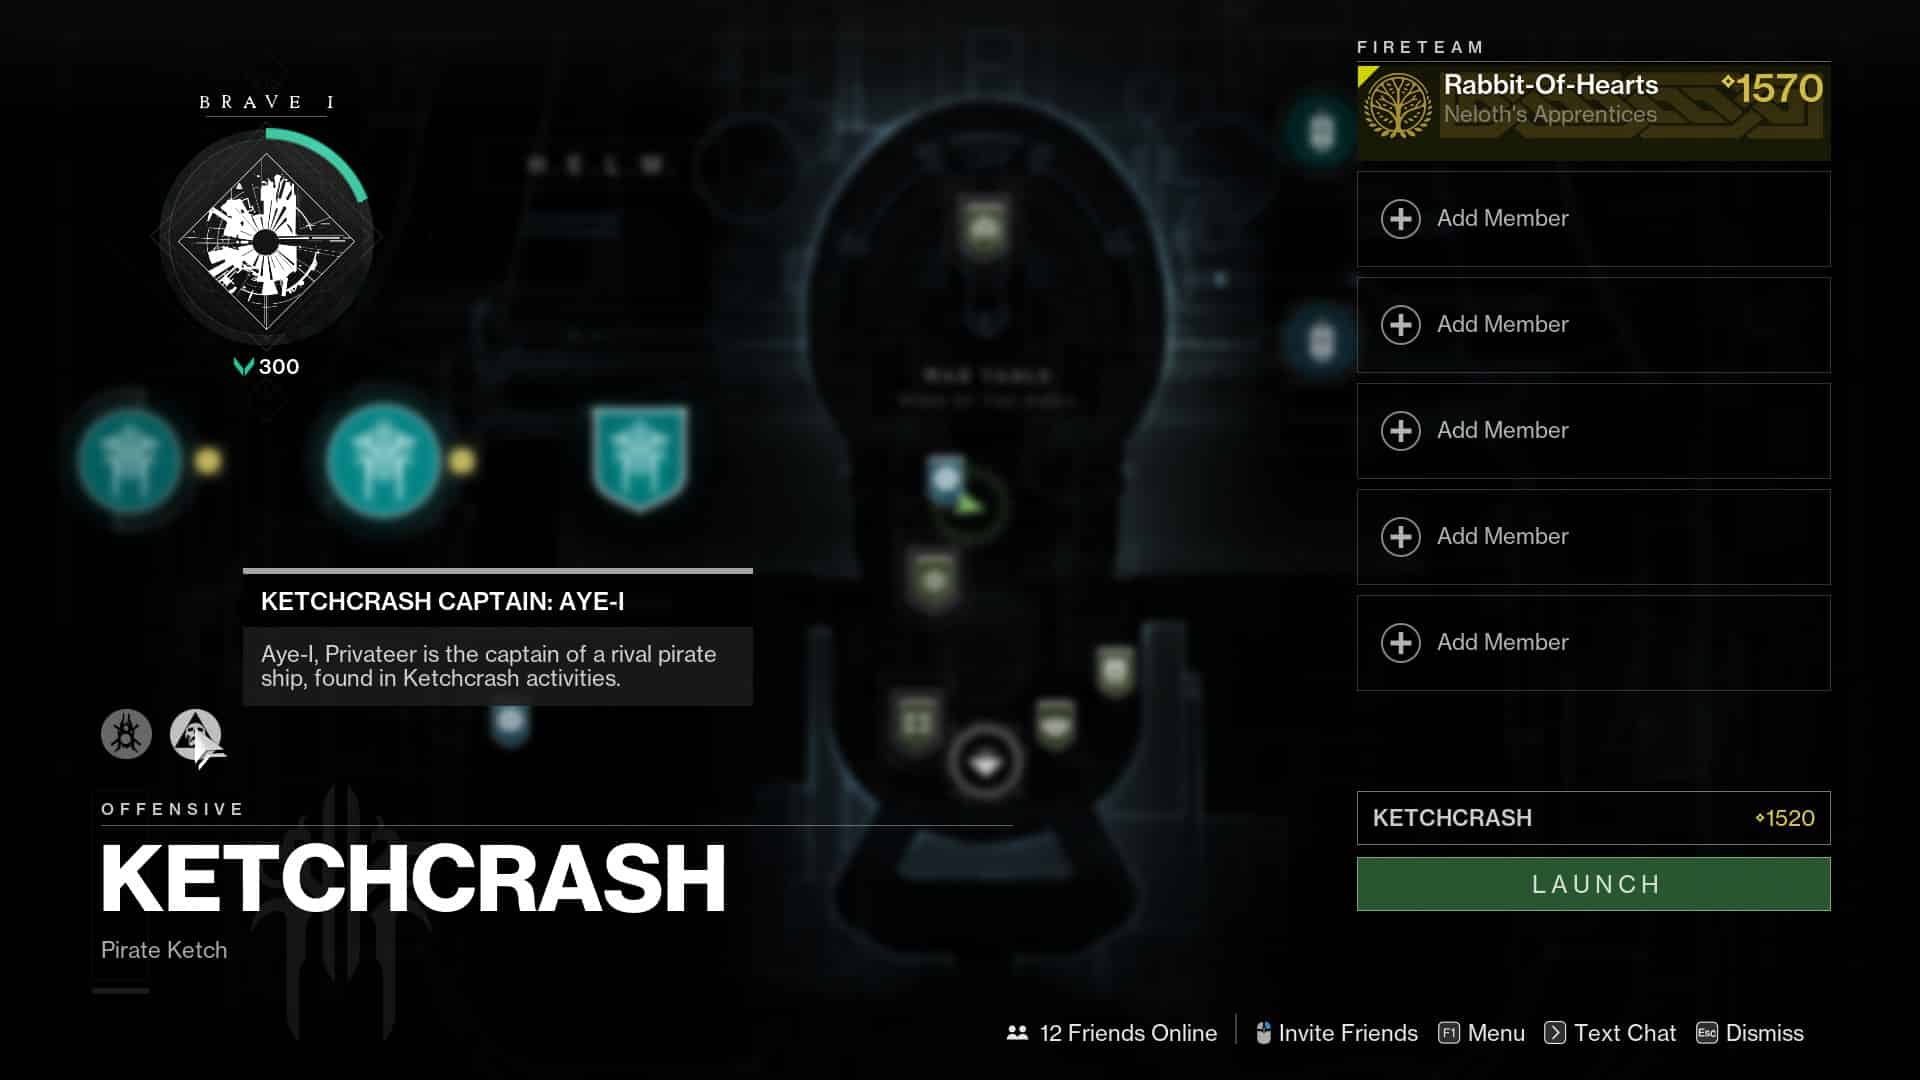
Repel the Attacking Pirates

When you first load into Ketch Crash, your Ketch will be under attack from a hostile vessel belonging to House Salvation. There will be a few waves of Fallen, but that shouldn’t pose too much of an issue for a team of six. It won’t take you more than a minute to kill everything.
Align the cannons

Once you’ve cleared the initial wave of enemies, more will spawn in and your objective will change. You now need to align the cannons on your ship so that you can start bombarding the enemy’s ship.
There are four plates in the area you’re currently fighting on – one in each corner. Stand on one for a few seconds and the cannon next to it will power on. Cannonballs will then periodically spawn in the cannons and fire at the enemy Ketch. You need to activate all four cannons and shoot enough cannonballs to progress Kellcrash.
Keep in mind that it’s not enough to just activate the plates – you have to defend them. Enemy Fallen will deactivate your cannons and halt your progress if they take control of the plates. Again, there are six of you so this shouldn’t be too difficult by any means.
Board the Ship

After you and your crew of scallywags have done enough damage to the enemy ship, it’s time to launch a boarding party! Head to the cannon on the front right of the arena and launch yourself over.
That concludes the opening of Ketchcrash. From here, you will need to complete two more combat encounters before the final boss. This is where the difficulty in figuring out how to complete Ketchcrash comes from. These two encounters are pulled from a pool of three – one will always be missing. I’m going to go over all three, anyway, but keep in mind that your experience will change run-to-run.
How to Complete Ketchcrash – Make Your Way Through the Enemy Ketch
Treasure Hoard / Destroy the Security Optic

The Treasure Hoard encounter is probably the most difficult of the three, but that’s not saying much. There’s a large Servitor-like device in the center of the room guarded by two turrets. Both the device and the turrets have shields. The device will target people at random and slow them – so look out for that.
Also in the room will be four circular consoles, each of which has its own regular Servitor. When you first enter the room, only two of these will be active. You’ll know which ones they are because the Servitors will spawn on top of them. Kill the Servitors, then stand next to the consoles to hack them. Once you hack two consoles, the device and turret’s shield will drop for a time, letting you deal damage (the turrets respawn – so that that into consideration).
After dealing a healthy chunk of damage to the device, its shield will regenerate and two more Servitors will spawn on the last two consoles, kill them and hack the new consoles. The device’s shield will drop again, at which point you can finish it and complete the encounter.
Ether Hoard / Destroy the Storage Tanks

Ether Hoard is the most time-consuming random encounter, but it’s still remarkably easy for a fireteam of six.
When you enter the room, take note of the tanks around the arena that are glowing purple – you’ll be blowing these up. You also have a progress bar under your objective that fills as you blow more tanks up.
Enemies will start to spawn in, along with the occasional Super Shank. Kill the Shanks and they’ll drop three Ether Charges. You can pick these charges up to throw at the glowing Ether Tanks. Each charge can destroy one tank.
Fight through the encounter, throwing charges as you go until the objective progress bar is full. Once it is, the encounter ends.
Maintenance Bay / Destroy the Walkers

The last of the three random encounters is called the Maintenance Bay. This arena is fairly large – large enough to accommodate the two Fallen Walkers you’ll be taking out.
Again, a big part of figuring out how to complete Ketchcrash is taking in your surroundings when you enter an area. You’ll notice strange purple nodes dotted around the walls and floor, each of which has a purple shield over it. They are on both sides of the arena where each Walker spawns.
These nodes are shield generators and you’re going to be destroying them. Before that, though, you’ll want to pick a Walker and get it down to half health. When you do, some of the generators will come online and lose their shield. They will empower the Walkers with a purple beam that makes it invulnerable to damage.
When this starts to happen, Captains that carry Scorch Cannons will periodically spawn. Killing one of these Captains will force it to drop its cannon. Scorch Cannons are the only things that can do damage to the Shield Generators, so pick one up and blast at the ones empowering the Walker. Once all the generators are down, the Walker will come back online and you’ll be able to finish it off.
Do this for both Walkers and the encounter will complete.
It’s worth noting that this encounter can become bugged, although it’s not too common. I’ve had instances where a Shield Generator is still online – preventing us from doing damage, but the Scorch Captains are no longer spawning. This hard locks you out of finishing Ketchcrash so you’ll have to go back to orbit and restart.
Captain’s Quarters
Clear the Captain’s Quarters

The Captain’s Quarters is a brief encounter that takes place between the two random encounters. You will always get this objective, regardless.
There’s nothing to this one – just enter the room and kill all the enemies. The boss will be there at first, but they’ll pull a runner after getting hit by a few bullets.
Once you’ve cleared the ADs, activate the console in the middle of the arena to proceed to your second random encounter.
The Bridge

After beating the two encounters and the Captain’s Quarters – you’re on to the boss fight. You’ll have to activate another console to start the fight, so you do get a few seconds of reprieve before you’re thrown into the deep end.
This encounter will likely change mechanically week-to-week as the boss rotates out. As of week one, we only have Aye-I the Super Shank. I’ll go over that fight, and each subsequent boss will be featured here as the weeks progress.
Aye-I

Out of every encounter you complete while figuring out how to complete Ketchcrash in Destiny 2, this one is probably the easiest. He spawns at the back of the Bridge arena, and other Fallen enemies will spawn from either side.
Aye-I’s health bar is split into three segments and he has damage gates. You’ll be able to take down the first part of his health, at which point he’ll teleport up into the air behind the Bridge and summon a handful of Servitors that will hover around him.
These Servitors will provide Aye-I with a shield, making him invulnerable. You’ll need to kill them all. After wiping out the Servitors, you’ll be able to do some DPS. However, when Aye-I is on his last bar of health, a second wave of Servitors will spawn. Take that wave out and you’ll finally be able to kill the boss.
Do this, and you’ll be able to kill Aye-I. After that, it’s just a matter of collecting your loot from the chest.
Skiffiks, Privateer

Skiffiks is a pretty easy boss, but he can kick your ass if you’re not prepared for him. The fight will start normally, with the barrier to the Bridge deactivating to allow you and your Fireteam to enter. Watch out for the mines that are scattered at the entrance – they will one-shot you.
At the start of the fight, Skiffiks will be in the crow’s nest near the top of the Ketch. He’ll have an elemental shield active that will change throughout the fight, but it’s not too hard to break it either way.
Skiffiks will stay in the crow’s nest until you get his first bar of health halfway depleted, or do one-sixth of his total health in damage. At that point, he’ll teleport onto one of the sides of the Bridge for some regular old combat.
After you completely deplete Skiffiks’ first bar of health, he’s going to disappear. Two mines will then spawn in that you and your Fireteam need to deactivate. You’ve probably seen these mines throughout your Destiny adventure up to this point, but if you haven’t – standing under the mine will bring up a progress meter. Fill up the meter and the mine will deactivate.
Keep in mind that during this mine portion of the fight, there will be yellow-bar Fallen Brigs shooting at you from just outside of the map, off the edge of the Ketch. You can try and take these down if you want. However, most Fireteams I’ve run with have just ignored them.
There will be two mines for you to disable. Once you’ve done that, Skiffiks will spawn back in for the next phase of the fight.
The rest of the fight plays out pretty much the same. Take out the next third of Skiffiks’ health and he’ll disappear again. This time, there will be three mines for you to disable. Disarm all three and he’ll spawn back in – at which point you can finish him off and claim your loot.
Ransaaks, Privateer

The initial boss of Season of Plunder week two was Ransaaks, Privateer. He’s not a Super Shank, and he doesn’t spawn Servitors to give him a shield. This makes him a far easier boss fight than Aye-I.
When you finally get up to the Bridge and activate the console, Ransaaks will appear behind the barrier just like Aye-I before him. Unlike Aye-I, though, he’s going to pull a bait and switch. Rather than letting the barrier drop and fighting you on the deck – he’s going to summon a whole bunch of Cabal Wardogs and Gladiators, then just run at you through the forcefield with them.
There are no special mechanics or anything of the sort to this fight – just stay alive and deal enough damage to empty one of his three health bars. Once the first one is depleted, he’ll go back outside the forcefield, summon more stuff, and do it all over again.
After you get Ransaaks down to his final health bar, he’ll finally open up the door and fight you out on the ship. Kill him, and you can claim your rewards.

Just keep in mind that it takes a hot minute for this activity to complete after you unlock the chest. There was a similar issue with Bonfire Bash during Solstice 2022. If you leave before you visibly see your rewards pop, not only will you not get those rewards, but the run also won’t count as a completion – so be patient!
Otherwise, there isn’t too much to worry about. If this was a three-man activity, it would be difficult. As a six-man fireteam, it’s a piece of cake.
Master Ketchcrash is another story, but that’s a guide for another day. If I decide to put together a guide for Master Ketchcrash – you’ll find it here.
Anyways, I hope this helped! Enjoy the season and happy privateering!