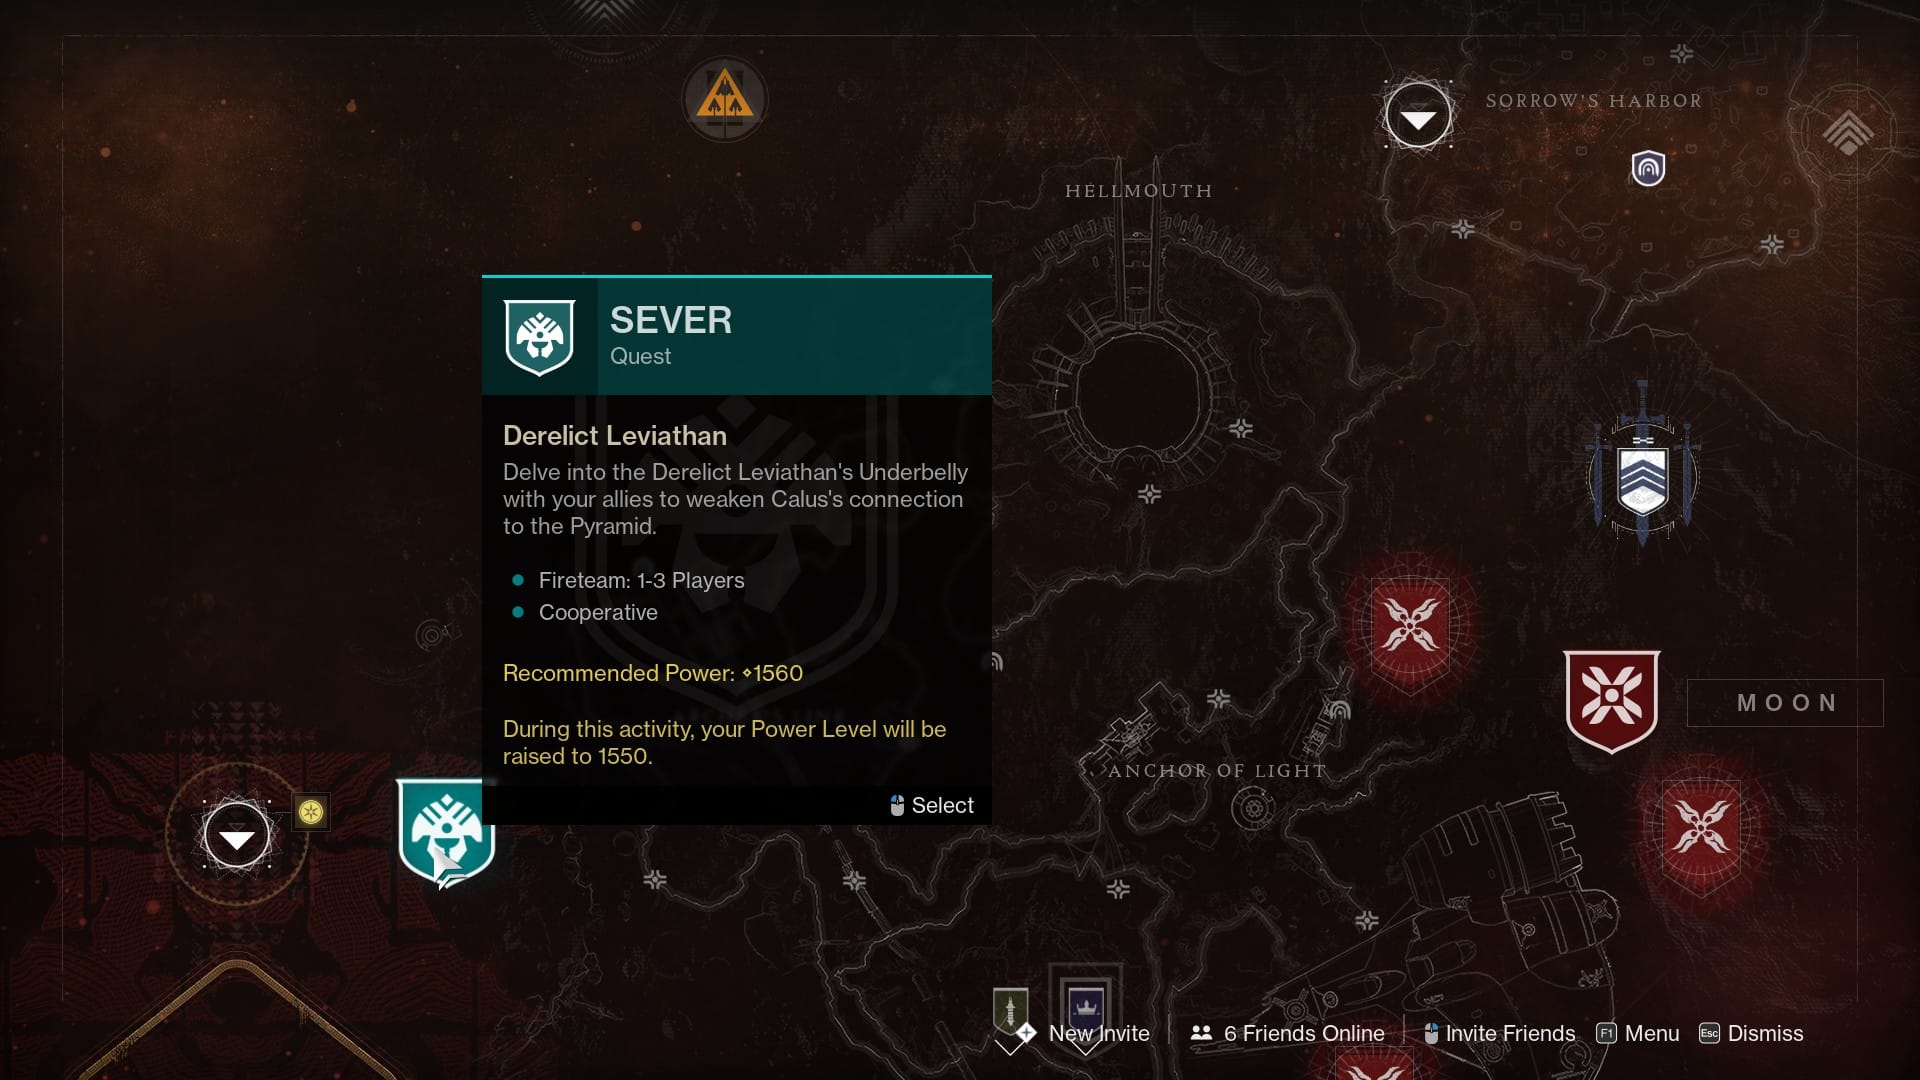
Destiny 2 Sever – Shame and Sever – Reconciliation are the first two versions of the Season of the Haunted weekly mission. I’m going to run you through both of them in this guide to help make completing them as easy as possible.
There are six total Destiny 2 Sever missions that we’re going to be completing as a part of the Bound in Sorrow weekly quest. These six are split up into groups of two, with Shame and Reconciliation being the first set.
There are a few minor differences in how Sever – Reconciliation and Sever – Shame play out. The only thing to note before going into them is that Reconciliation has the Attrition modifier. This modifier cuts your health regen, but defeated enemies spawn Wells of Light that restore health.
Any other changes I’ll be pointing out throughout this guide and separating them where necessary. I’ll also run you through the locations of the Calus Bobbleheads in each of the missions, too.
Destiny 2 Sever Shame / Reconciliation – Amplifier 1
The first amplifier is located right at the start of the mission. When you first spawn in, walk forward and you’ll be presented with a hallway. Turn left and go forward until you reach a dead end.
You’re looking for a room on your right. If you’re playing Destiny 2 Sever – Reconciliation, then there will be Scorn in this room and it will already be open. If you’re playing Shame, it will be empty – but there will be an exposed fuse above the door that you’ll need to shoot. Get familiar with these fuses, they’re the same as the ones in Presage and they’re prevalent throughout Sever. Once you’re in the room, place the amplifier in the room then return the way you came.

When you’re back at the start of the mission, you should be able to see a door that’s glitching out as well as an exposed pipe. Head towards the door and it will open. Shoot the fuses inside and it will enable you to enter the pipe.
Destiny 2 Sever Shame / Reconciliation – Amplifier 2

Navigate through the pipe and you’ll come out in another part of the Leviathan underbelly. Turn right immediately and you’ll reach a Calus animatronic. Listen to what it has to say, or don’t, and go to the other end of the hallway.
Destiny 2 Sever – Reconciliation Calus Bobblehead Location
If you’re doing Sever – Shame ignore this – the Calus Bobblehead for that mission is further along in the mission.

If you’re doing Sever – Reconciliation, pause for a second. The Calus animatronic from Sever – Shame will no longer be there. Head to where it was and turn to look at the pipes. There are a few of them along the wall, but you’re looking for the last one on the left, it should be directly in front of where the Calus robot was.
Head inside this pipe and turn left, the Calus Bobblehead for Sever – Reconciliation will be right in front of you.
Once you’ve either spoken with the animatronic or taken the Bobblehead, head back down to the opposite end of the corridor.
You’ll reach some Egregore spores, shoot them and pass through the barrier next to the spores.
The Armory
Immediately after you pass through the spore wall, you’ll be in the armory. You’ll need to clear out the first wave of Cabal, after which the power will go out. Another wave will then spawn – defeat them, too. If you’re playing Sever – Reconciliation, the power will already be out. Otherwise, though, this process is the same for both.

After those two waves, a final wave will spawn with a boss named Val Dumoar, defeat him and proceed through the area to chat with Crow.
After Crow and the Nightmare of Uldren finish their banter, the door to your left will open. Go through it and flick the switches at the end of the hall to restore the power.

Once you do, the power will turn back on. Turn back around and head up the ramp back towards Crow. You’ll see two Psions spawn at the end of the hall. Shoot them, then look to your right through the door next to where the Psions spawned. You’ll see another exposed fuse that you need to shoot.

After you do, a compartment to your left will open to reveal an Egregore Spore. Take the spore buff and go through the large Egregore door next to Crow’s room.
In here, you’ll want to shoot the exploding barrels for safety’s sake.
You’re going to be crawling through a small vent with a number of incinerators above you. Pull out your Ghost for light, and navigate the vent. The incinerators are easy to spot, but they will one-shot you, so move slowly.

Once you’re out the other side of the vent, place the second Amplifier and the door in front of you will open.
Destiny 2 Sever Shame / Reconciliation – Amplifier 3
Containment
Destiny 2 Sever – Shame

This next section is straight out of a horror game. You’ll be in an area called Containment. The area has been put into lockdown and you need to hit four manual override switches to lift it. The first switch will be right next to the door to leave.
You can activate it innocently enough, but once you do an invincible Nightmare Ceremonial Bather will spawn right next to you. This dude will kill you in two hits and chases you pretty aggressively. Honestly, it’s terrifying.
You’ll need to activate three more override switches while avoiding this glorified Cabal version of Jason.
Switch 2

Switch two is located right next to the first manual override switch. If you turn around from switch one and follow the platform to your right, you’ll go around the curve and the switch will be right in front of you.
Switch 3

Switch three is located in the room directly before the area with switches one and two. You’re looking for large, circular, orange power-generator-looking things.
These generators run the length of the entire room before the first override switch. You’re looking for the section at the front, closest to switch two. Look up, and you should be able to see switch three on a balcony behind the generator.
Switch 4
Switch four is a little more complicated. From switch three, turn around to face the wall behind you. You should be able to see an open crawlspace. Go through the crawlspace and take the first available left. You should be able to see a giant Cabal wrench on the ground; grab it.

The wrench will slow you down, but you should still be able to barely outrun Cabal-Jason.
At this point, you should have an objective marker highlighting where to go. If you don’t, though, you want to take the wrench to the side of the area directly opposite you. You’re looking for a hole in the wall.
Once you pass through the hole, use the wrench on the Cabal device in front of you. This will disable an electric field preventing you from hitting the last switch.

Jump up on the platform in this room, across the gap, and activate the last manual override switch. Then, make your way back to the first switch and lift the lockdown.
Destiny 2 Sever – Shame Bobblehead Location

Before you do, though, look up. The Calus Bobblehead for Destiny 2 Sever – Shame is located at the top of the chasm that the last override switch is in.
You need to jump up the pipes that line the side of the chasm. Hunters will have a much easier time of this than the other two classes, but it’s possible on all three. Once you reach the top, the Calus Bobblehead will be sitting on a crate.
Destiny 2 Sever – Reconciliation
When you enter containment in Sever – Reconciliation, you’ll be met by a handful of Cabal grunts. Dispatch them and proceed to the override switch as before.

This time, instead of lifting a lockdown, you’re going to be helping Ghost hack a Cabal barrier. Cabal-Jason will still be present for this part of the mission, so don’t make the mistake I did and assume he wasn’t around this time.

Rather than flicking four override switches, you’re going to be killing yellow-bar Loyalist Psions. There are five in total that you need to kill. They glow so they’re pretty hard to miss.
Some of the Psions are going to have a forcefield around them. To remove the forcefield and damage them, you need to kill the Psion Commanders powering up each one. These commanders are in a forcefield of their own and are close to their corresponding Loyalist Psion. They are the same Commanders present in the Leviathan raid and in Nightmare Containment.

Simply run up to each Commander, melee them, then kill the corresponding Loyalist and collect the Barrier Passcode Fragment they drop. After you kill all five, the forcefield will drop and you will be able to continue.
Given that you’re looking for five enemies, not switches, you’re going to have to rely a bit more on your awareness. They can roam around the area, although they generally stay in the same locations that the switches were in. There is a Loyalist and Commander in the hole in the wall, for example. Once all five Psions are dead and you’ve collected their Passcode Fragments, proceed to Transfer.
Destiny 2 Sever Shame / Reconciliation – Transfer
Once you release the lockdown or kill all five Psions, head through the now open door and kill the Scorn (or Cabal for Sever – Reconciliation) in front of you. Proceed forward and set the third Ritual Amplifier.

The glitchy door in front of you will open revealing an exposed fuse to your top left. Shoot it and a crawlspace will open in the room with the amplifier. Navigate the crawlspace until you reach a lift, enter it and you’ll be shot out into the Gauntlet.
The Gauntlet
The boss for both Destiny 2 Sever – Shame and Reconciliation is the Nightmare of the Fanatic. It’s a pretty easy boss fight that you can one-phase with enough damage, or if you’re doing the mission with someone else.

To start, interact with Crow to begin the ritual. The Fanatic will spawn in front of you. Deal enough damage to him and he’ll teleport into the Gauntlet itself. Follow him through the portal to continue doing damage.
The DPS window here is fairly generous. He’ll make his way through each of the three sections in the Gauntlet, giving you a few minutes total to kill him. For most people, this will take two phases.

Once you’re done a phase, he’ll teleport you out of the Gauntlet and back into the general arena. From here, you need to do some regular ad-clear. A Scythe will spawn in to help with that. Once you clear the scorn, the portal into the Gauntlet will open back up. Enter it and complete another round of damage. Rinse and repeat until the Fanatic is dead.
Halfway through the ad clear, a scythe will spawn in.
Rinse and repeat until the Fanatic is dead and you’re done! At least, you’re done with these two.
You still have four more Destiny 2 Sever missions to get through. We’ll have guides for each of them as they release every week on reset, so make sure you’re checking back with us every Tuesday.
Update: Destiny 2 Sever – Grief Guide, Destiny 2 Sever – Forgiveness Guide, Destiny 2 Sever – Rage Guide, Destiny 2 Sever – Resolve Guide


