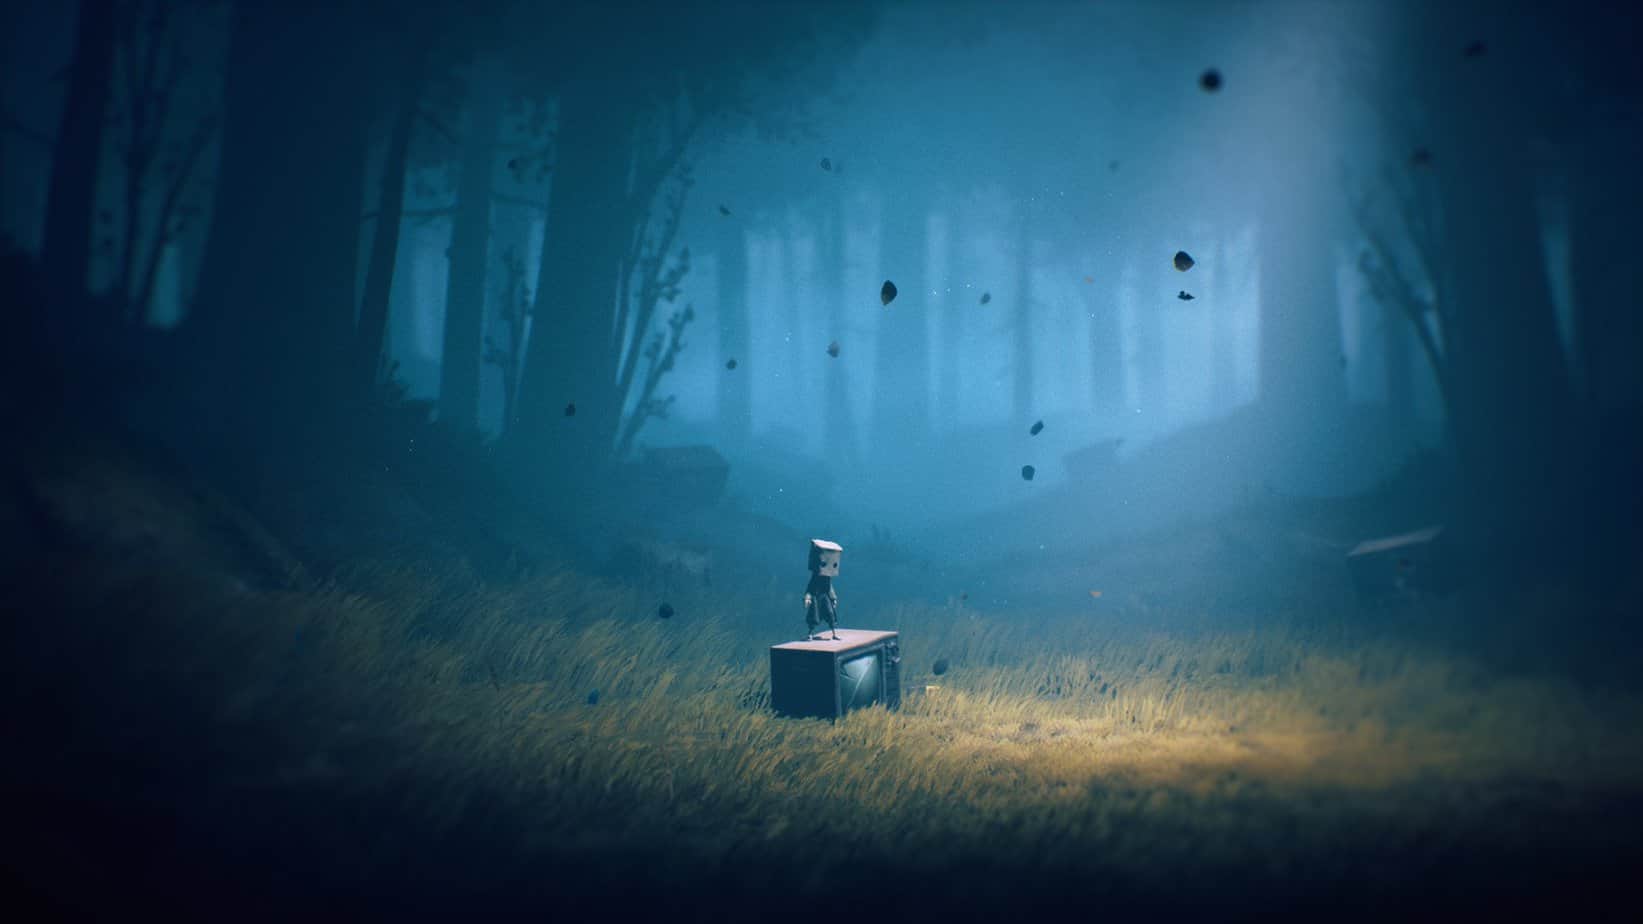
Tarsier Studios has released Little Nightmares 2, which is a sequel to the original horror platformer that came out in 2017. This is one of the most highly rated games of the year so far and is available on multiple platforms. Horror fans should definitely pick this up, as it features some of the best creature designs in the industry, with incredible animation work, and art direction. PC players can generally tweak their experience a bit more than console counterparts, and if you want to disable Chromatic Aberration in Little Nightmares 2, here is how you can do that.
For the most part, Little Nightmares 2 runs as well as expected. The first one could easily give you an excellent experience on a variety of systems, and this one does the same. The game does benefit from higher settings, but overall, it’s a solid experience no matter what settings you play on.
Disable Chromatic Aberration in Little Nightmares 2
Chromatic Aberration is a visual effect that many players are put off by. Most of the time, it isn’t used effectively and can reduce the overall visual quality of the game. A lot of games give you the option to disable it, but sadly, that feature is missing in Little Nightmares 2. However, you can still do it by editing configuration files. To do this, follow the steps below.
- First, open Windows Run by pressing the Windows + R keys together. You can also do this by searching for Run in the Windows Search bar.
- Now, enter the following location, and press Enter
%LOCALAPPDATA%\Helios\Saved\Config\WindowsNoEditor
- Here, open the Engine.ini file using a text editor like Notepad, or Notepad++
- Add the following lines
[SystemSettings]
r.SceneColorFringeQuality=0- Save the Engine.ini file and exit
After you have followed these simple steps, launch the game again. If you followed the steps correctly, chromatic aberration will be disabled now. If for some reason you want to enable it again, follow the steps above, and remove the added text.
We hope this guide was helpful. If you have any questions, feel free to ask them in the comments below.


Hey man, Iv’e tried doing this for both film grain and chromatic obrasion but when i go to the engine.ini file there is nothing that refrences system settings it only gives core.systems
Hey, simply add the lines in the file, the [SystemSettings] line isn’t there by default. Copy and paste the two lines I mentioned. When you’ve done either one of these, for the next time, simply add the other line as [SystemSettings] will already be there.