
Somerville is out now on PC through Steam and the Game Pass for PC app. This is a science fiction adventure game developed and published by Jumpship, the studio co-founded by Dino Patti, who was previously part of PlayDead. The PC version runs fine for the most part, but there are a few technical issues and lacks some basic graphical settings. If you want to enable the Somerville VSync setting, here is how you can easily do that.
To Enable the Somerville VSync Setting
Somerville doesn’t have a vsync option available in the PC version. This is an odd omission and means that your PC will be working on running the game at a higher framerate beyond your requirements and introduce screen tearing as well. Below are the only things you can customize in-game.

Thankfully, you can easily disable it using the control panels of your GPUs.
NVIDIA
If you’re an NVIDIA user, you can enable VSync in-game using the Nvidia Control Panel. To do this, follow the steps below.
- Make sure you have launched Somerville at least once so that it can show up in the recent apps
- Close Somerville
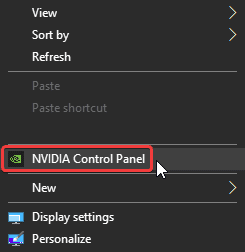
- Right-click on your desktop, and select NVIDIA Control Panel
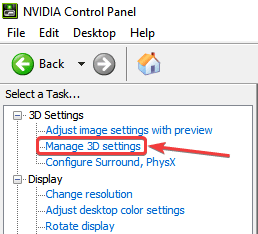
- On the left, click on Manage 3D Settings under 3D Settings
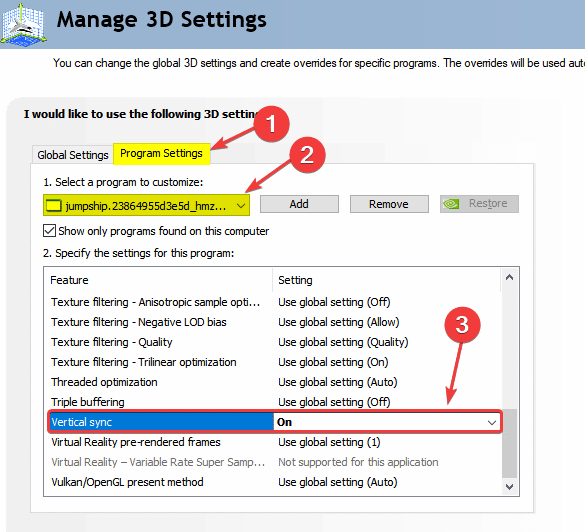
- Now, click on Program Settings
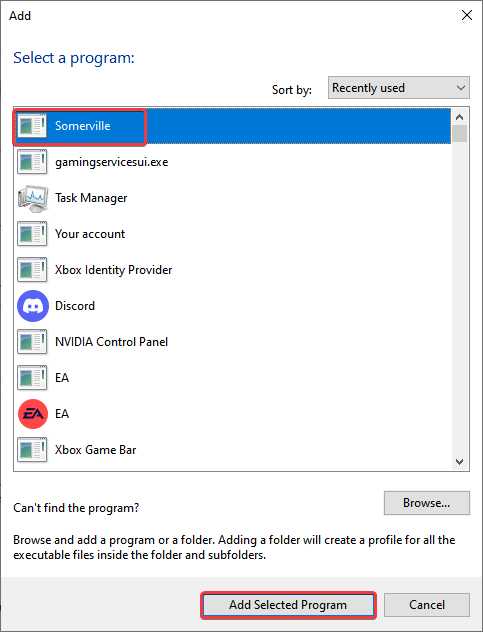
- Select Somerville from the list under “Select a program to customize”
- If it doesn’t show up automatically, you can browse and “Add” the executable as well
- Game Pass users might not see this show-up right away, so I recommend re-launching NVIDIA Control Panel
- Game Pass users can’t browse for the executable because of Admin Permission conflicts, but Steam users can
- Now, scroll down the settings, and change Vertical Sync to On
AMD
If you’re an AMD user, you can enable VSync in-game using the AMD Panel. To do this, follow the steps below.
- Make sure you have launched Somerville at least once so that it can show up in the Gaming section
- Close Somerville
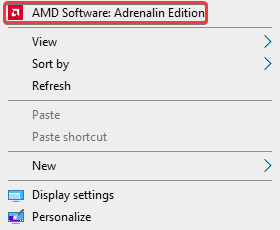
- Right-click on your desktop and click on AMD Software Adrenaline Edition
- Click on the Gaming tab
- Here, select Somerville from the list, or add it as we explained above
- Now, set Wait for Vertical Refresh to On

This will enable VSync in-game, and you won’t have to push your system beyond what is required. The game isn’t demanding at all, and we recommend pushing the resolution up and using DSR or VSR to get an even better image quality.
We hope this guide was helpful and you were able to enable the Somerville Vsync option. Share your thoughts and questions in the comments below.


Gamepass version does not permit acess the exe file in nvidia control panel
Hey! Instead of locating the executable, you need to look for recent apps. So basically, click on Program > Add > Sort by Recent. Here you’ll find Somerville in the processes as shown below
http://whatifgaming.com/wp-content/uploads/2022/11/Somerville-in-Nvidia-Recent-Apps.png
Select that, and just turn Vsync on. Don’t browse the executable.