The Last of Us Part 1 is now available on PC through Steam and the Epic Games Store. Following Returnal, this is the second PlayStation Studio release on PC in 2023, and while the PC port is demanding, there are tons of graphical options to tweak with DLSS and FSR support. Like with every other modern PC release, there are a few technical problems. If you’re running into the Last of Us PC crash at launch issue, here are a few things I recommend doing.
Verify Game Files
The first thing you need to do is check the state of your game files. It’s possible that something went wrong during the download or installation process, which is why you’re running into a crash. Thankfully, you can verify your game files no matter what client you’re using.
Steam
- Open Steam and navigate to your library
- Right-click on The Last of Us Part 1 in your library
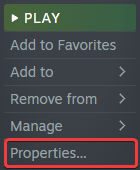
- Click Properties
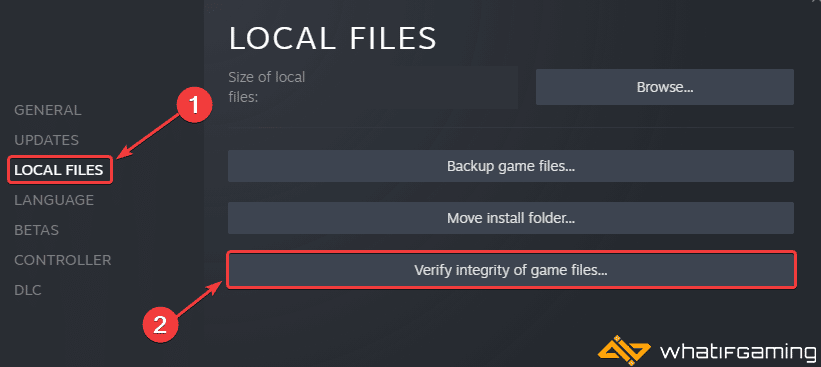
- Select the LOCAL FILES tab
- Click on Verify Integrity of local files…
Epic Games Launcher
- Open your Library in the Epic Games Launcher

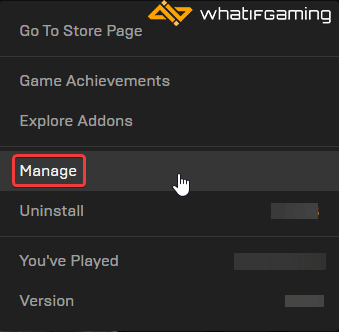
- Now, click on the three dots next to The Last of Us Part 1
- Here, select Manage
- Click on the Verify button next to Verify Files

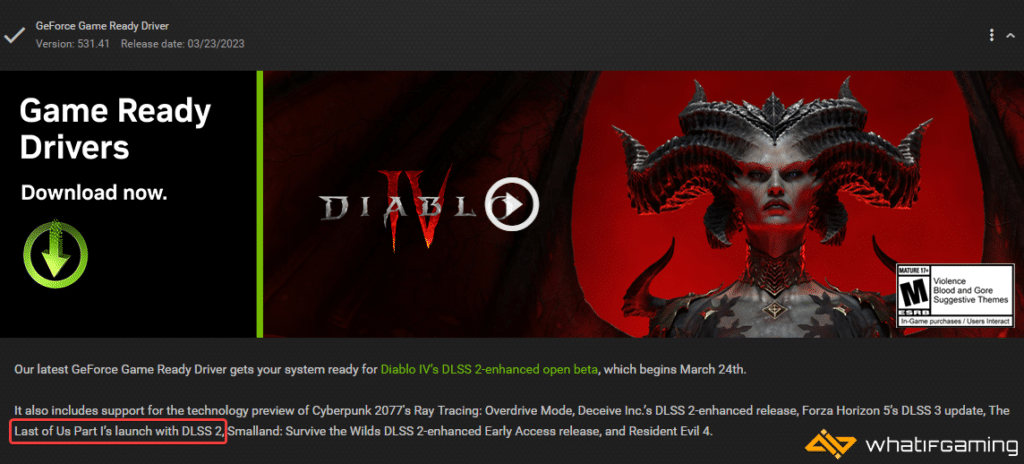
Update Your GPU Drivers
Make sure that you have the latest drivers for your GPU installed. You can get the latest ones from the links below.
NVIDIA (531.41) and AMD (23.3.2) have released drivers supporting The Last of Us Part 1.
Update DirectX and Visual C++ Redistributables
Ensure that both DirectX and Visual C++ Redistributables are on the latest version.

Switch to Dedicated GPU (Laptop Users)
Ensure that your dedicated GPU is being utilized instead of the integrated one.
Switching to the dedicated Nvidia GPU
- First, open the Nvidia Control Panel
- Then navigate to 3D Settings and then Manage 3D Settings
- Open the tab Program Settings and choose The Last of Us Part 1 from the dropdown menu
- Next, select the preferred graphics processor for this program from the second dropdown.
- Your Nvidia GPU should show as High-performance Nvidia processor
- Save the changes
Switching to the dedicated AMD GPU
- First, open Radeon Settings
- Then navigate to Preferences, followed by Additional Settings
- Here, select Power and then Switchable Graphics Application Settings
- Select The Last of Us Part 1 from the list of applications
- If The Last of Us Part 1 isn’t in the list, click the Add Application button and select the executable from the installation directory. This adds the game to the list, and you’ll be able to select it afterward.
- In Graphics Settings, assign the High-Performance profile to the game.
Update your Windows
Please ensure that you are on the latest version of Windows. The Last of Us Part 1 requires Windows 10 version 1909 or above, so you’ll need at least that. Updating is essential as many modern releases require the OS to have the latest updates.

We hope this guide helped fix the Last of Us PC crash at launch issue. Let us know if you have any questions in the comments below.
Let Windows Automatically Manage Virtual Memory
If you have a higher-end system, it’s possible that the Windows page file isn’t offering enough space to allocate the VRAM budget.
It’s recommended that you allow Windows to manage it automatically. This can be done by following the steps below.
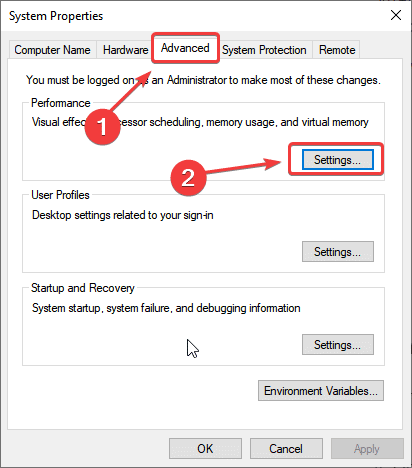
- In Windows Search, type “sysdm.cpl” and select the result under Best Match

- Select the Advanced tab, and then select Settings under Performance
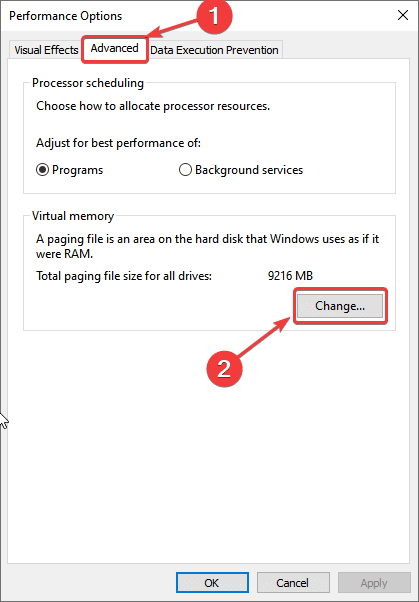
- Here, select the Advanced tab
- Click on Change under Virtual Memory
- Now, check “Automatically manage paging file size for all drives“
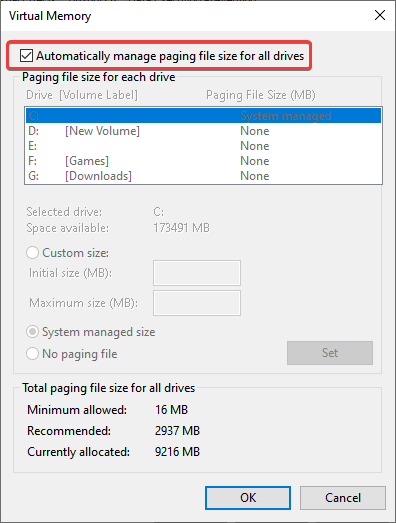
- Press OK after you’ve checked it
We hope this guide helped fix the Last of Us Part 1 crash at launch issue. Let us know if you have any questions in the comments below.


I found a way that worked
Basically let the game crash then you will get two pop ups on relaunching the game.
I skipped the one about safe mode and then one popped up asking to monitor the game as I play and I accepted that and it never crashed again. I also deactivated antivirus software on this run so I don’t know if that was the issue but after them two steps it ran for about 5 hours perfectly and no issues.