
Soleil’s latest action title, Wanted: Dead, is finally out on PC through Steam and the Epic Games Store. My experience with the PC port has been decent enough, but there are a few technical issues and limitations. If you’re running into Wanted Dead crash at launch issue, here are a few things I recommend.
Fixing the Wanted Dead Crash at Launch Issue
Some users have reported a crash while trying to launch the game, which isn’t uncommon with new PC ports. This mostly comes down to either something missing on the user’s end or broken game files. Go through the following to address the crash.
Verify Game Files
To address broken or corrupted game files, you need to scan and verify those. This can be done in both Steam and the Epic Games Launcher. After a scan, the clients will download anything out of order.
Steam
- Open Steam, and navigate to your library
- Right-click on Wanted: Dead in your library
- Click Properties

- Select the LOCAL FILES tab
- Click on Verify Integrity of local files…

This will scan your game files and redownload anything missing or broken.
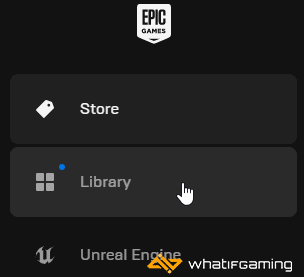
Epic Games Launcher
- Open your Library in the Epic Games Launcher
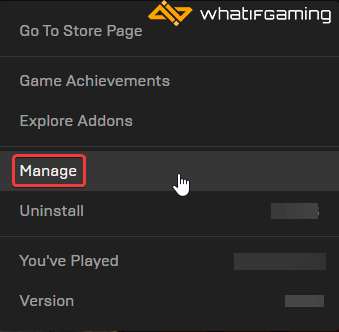
- Now, click on the three dots next to Wanted: Dead
- Here, select Manage
- Click on the Verify button next to Verify Files
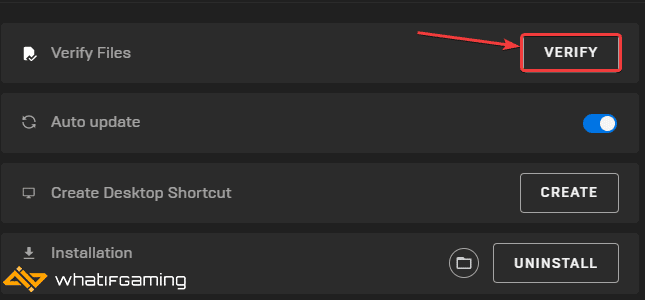
Like Steam, this will scan the game files and download any required files.
Update your GPU Drivers
Make sure that you have the latest drivers for your GPU installed. You can get the latest ones from the links below.

Switch to dedicated GPU (Laptop Users)
Ensure that your dedicated GPU is being utilized instead of the integrated one.
Switching to the Dedicated Nvidia GPU
- First, open the Nvidia Control Panel
- Then navigate to 3D Settings and then Manage 3D Settings
- Open the tab Program Settings and choose Wanted: Dead from the dropdown menu
- Next, select the preferred graphics processor for this program from the second dropdown.
- Your Nvidia GPU should show as High performance Nvidia processor
- Save the changes
Switching to the Dedicated AMD GPU
- First, open Radeon Settings
- Then navigate to Preferences, followed by Additional Settings
- Here, select Power and then Switchable Graphics Application Settings
- Select Wanted: Dead from the list of applications
- If Wanted: Dead isn’t in the list, click the Add Application button and select the executable from the installation directory. This adds the game to the list, and you’ll be able to select it afterward.
- In the column Graphics Settings, assign the High Performance profile to the game.
Update DirectX and Visual C++ Redistributables
Ensure that both DirectX and Visual C++ Redistributables are on the latest version.
We hope this guide helped fix the Wanted Dead crash at launch issue. Let us know if you have any questions in the comments below.