Call of Duty Warzone 2.0 is now available on PC and, this time, on Steam as well. Players can finally play the game on the client of their choice and enjoy a free-to-play experience like no other. Since Warzone 2.0 is essentially the same as Modern Warfare 2 regarding the engine, you can expect similar performance for the most part, but some drops, especially with the bigger maps. While most of the experience is quite solid, some players have encountered some technical issues. Here are a few tips to fix Warzone 2.0 stuttering, lagging, and crashing on PC.
Fixing the Warzone 2.0 Stuttering, Lagging, and Crashing
First off, it should be highlighted that the game has tons of settings to customize, and even players with budget PCs can play the game with some cutbacks to get a decent enough experience. Stuttering and lagging are usually addressed by adjusting those, while crashing is more related to general stability. Here are our recommendations to improve your experience.
Turn These Settings Down
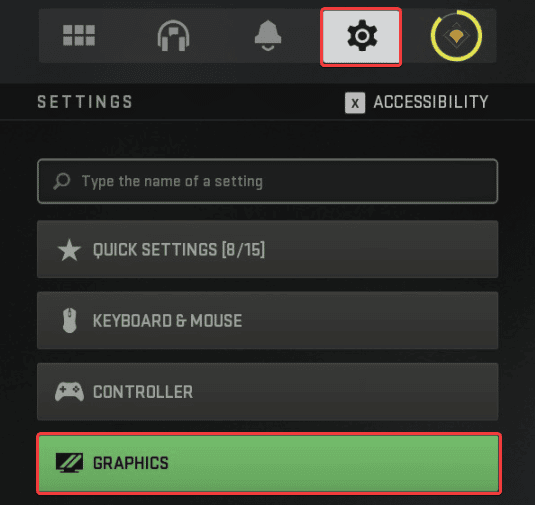
Okay, there are hundreds of things to adjust in Warzone 2.0, and while you can have slight improvements by checking out each, to really get an improved experience, I recommend turning down the following ones. These can be accessed in the Graphics Settings from the Main Menu.
Here are the settings you want to look out for.
- Particle Quality
- Shader Quality
- Shadow Map Resolution
- Particle Quality Level
- Volumetric Quality
- Spot Cache
As expected, these are the usual culprits when it comes to power-hungry settings. Try turning these down to Medium or Low will help a lot, and for everything else, you can pretty much keep on the higher available settings.
Additionally, I recommend setting Bullet Impact and Sprays to OFF. Yes, you’ll lose some of that great visual impact effect, but I noticed a reasonable improvement in performance after turning this off.
I also recommend messing around with the given presets and seeing if you can get a better experience.
Install Warzone 2.0 on an SSD
Even though the requirements don’t explicitly recommend an SSD, we think installing it on one is best. Modern PC games leverage SSDs quite liberally and can reduce stuttering quite significantly. Asset streaming is tied to these, and faster access results in a smoother experience.
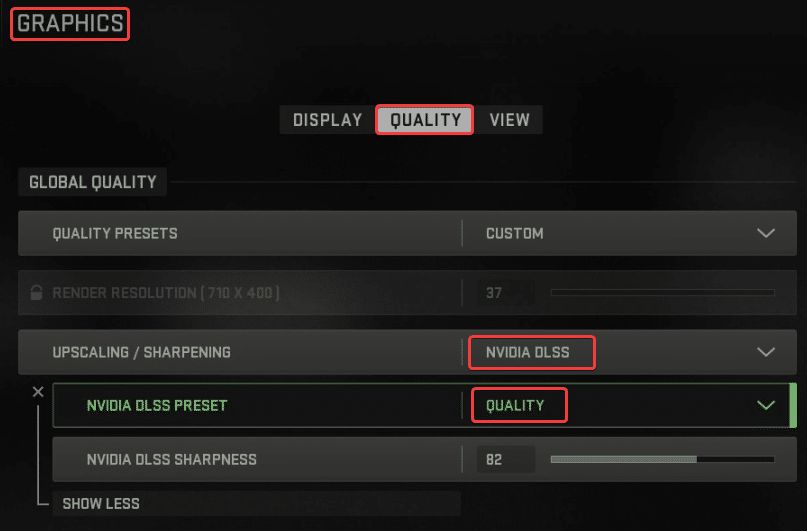
Turn on DLSS or XeSS (or even FSR)
It should go without saying, but if you have an RTX GPU, you should use DLSS. Start off with Quality, and you’ll already see an improved framerate without the cost of visual quality, and go down to Performance, you’re still not satisfied with your framerate.
Intel XeSS actually offers some excellent results as well, and you want to try the Quality setting first to see if you’re satisfied with the results.
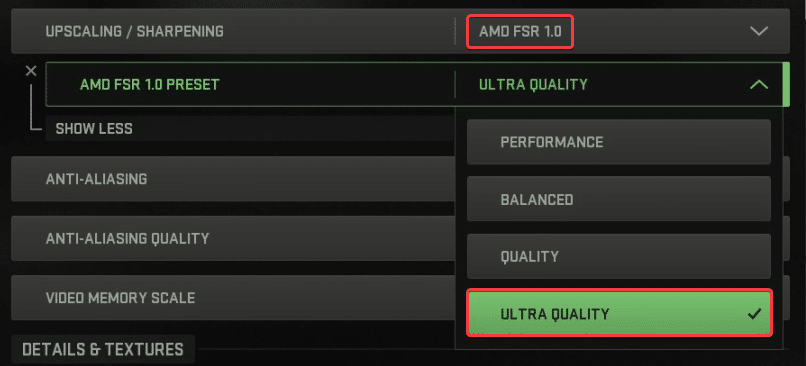
FSR 1.0, on the other hand, isn’t exactly going to give you the best visual results, but it’s still worth taking a look at because you will certainly have a smoother experience. Try setting it to Ultra Quality first and then going down.
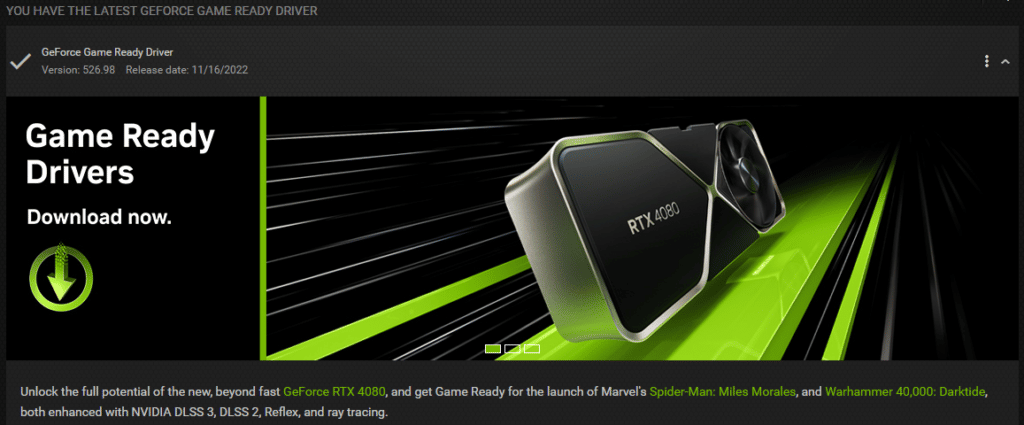
Update your GPU Drivers
Make sure that you have the latest drivers for your GPU installed. You can get the latest ones from the links below.
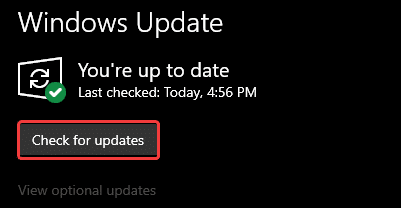
Update your Windows
The developers have recommended that you should update your Windows as well. Most new Windows updates can potentially fix Windows bugs and improve the general experience of newer gaming releases.
- In Windows Search, type “Update” and click on Check for Updates
- This will take you to the Windows Update section, and you can make sure you are on the latest version.
Update DirectX and Visual C++ Redistributables
Ensure that both DirectX and Visual C++ Redistributables are on the latest version.
Switch to Dedicated GPU (Laptop Users)
Ensure that your dedicated GPU is being utilized instead of the integrated one.
Switching to the dedicated Nvidia GPU
- First, open the Nvidia Control Panel
- Then navigate to 3D Settings and then Manage 3D Settings
- Open the tab Program Settings and choose Warzone 2.0 from the dropdown menu
- Next, select the preferred graphics processor for this program from the second dropdown.
- Your Nvidia GPU should show as a High-performance Nvidia processor
- Save the changes
Switching to the dedicated AMD GPU
- First, open Radeon Settings
- Then navigate to Preferences, followed by Additional Settings
- Here, select Power and then Switchable Graphics Application Settings
- Select Warzone 2.0 from the list of applications
- If Warzone 2.0 isn’t on the list, click the Add Application button and select the executable from the installation directory. This adds the game to the list, and you’ll be able to select it afterward.
- In Graphics Settings, assign the High-Performance profile to the game.
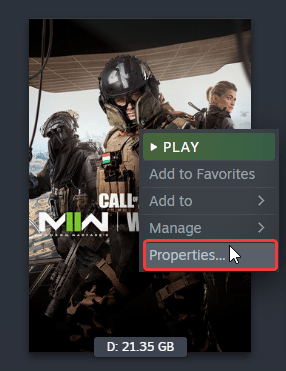
Verify Game Files
You also want to verify your game files to ensure that everything is in order. It’s possible that during the download or installation part, something went wrong.
Steam
- Open Steam, and navigate to your library.
- Right-click on Call of Duty Warzone 2.0 in your library
- Click Properties
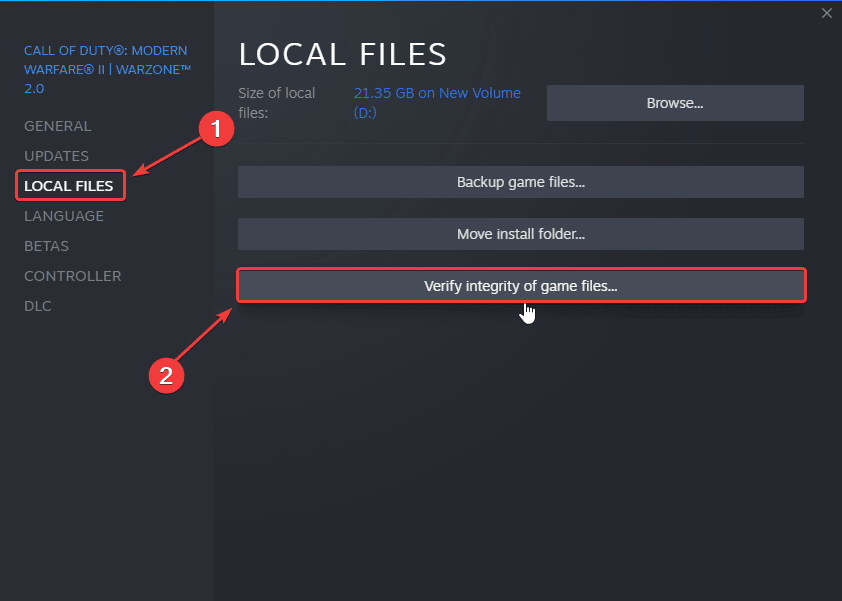
- Select the LOCAL FILES tab
- Click on Verify Integrity of local files…
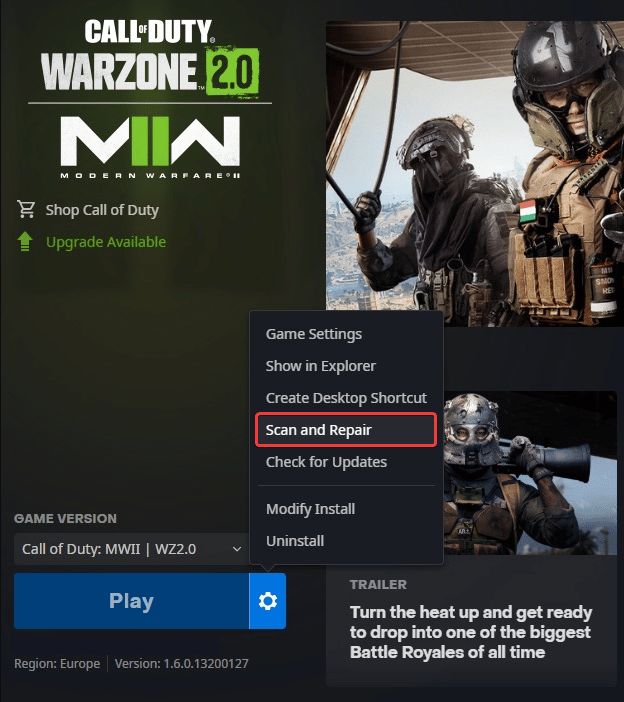
Battle.net
You can also scan and repair the files on the Battle.net client by following the steps below.
- Open the Battle.net desktop app
- Click on the Call of Duty: Warzone 2.0 icon in your Games tab
- Click the cogwheel next to the Play button and select Scan and Repair
Check for Updates
Call of Duty titles update all the time. It’s why you want to ensure that you’re always on the latest version before running the game. To make sure that happens in both clients, follow the steps below.
Steam
- Open Steam, and navigate to your library.
- Right-click on Call of Duty Warzone 2.0 in your library
- Click Properties
- Select the Updates tab, and set Automatic Updates to High Priority
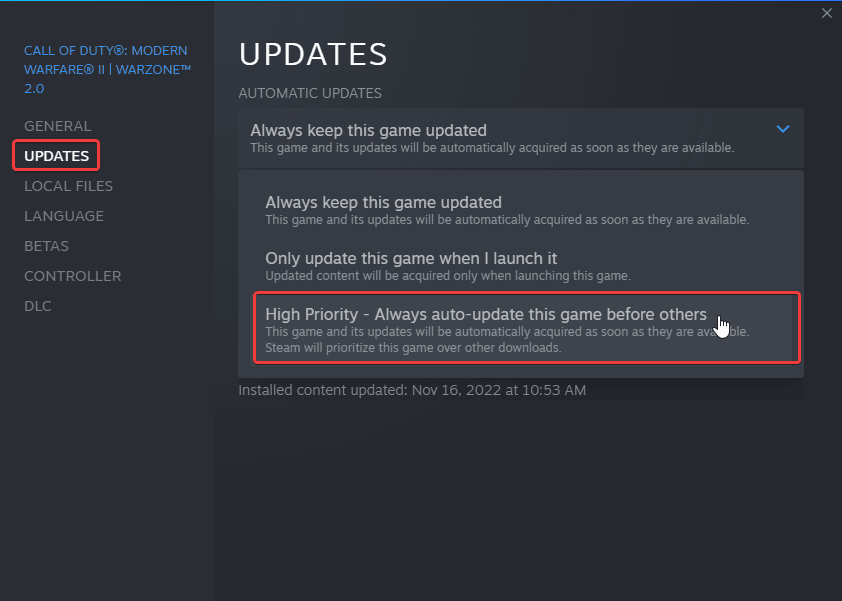
You might want to restart Steam just in case, as sometimes new updates show up that way. The high priority setting will ensure that COD is updated first.
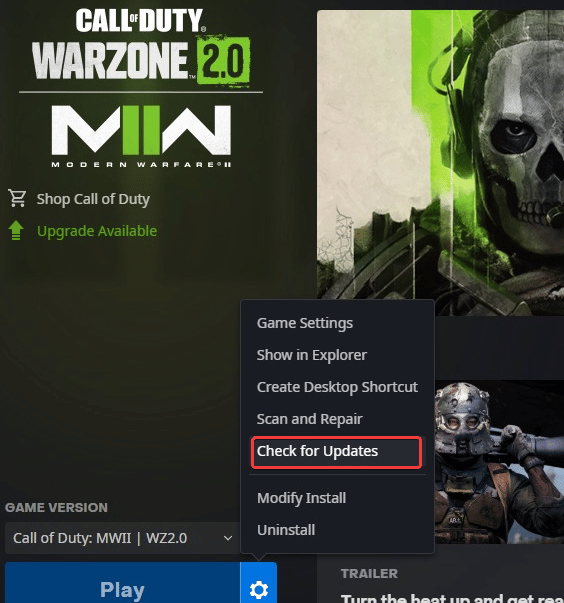
Battle.net
- Open the Battle.net desktop app
- Click on the Warzone 2.0 icon in your Games tab
- Click the cogwheel next to the Play button and select Check for Updates
For even more detail related to crashing, I recommend checking out my guide for that.
We hope this guide was helpful and you were able to fix the Warzone 2.0 Stuttering, lagging, and crashing issues on your PC. Share your thoughts in the comments below.