The 4-Timer Refit in Destiny 2 is a reward for completing Should You Choose to Accept it Part 4. This marks the end of that questline, and in turn the last upgrade you’ll need to acquire for your Revision Zero. Nothing here is different than previous iterations of the Should You Choose to Accept it Quest, but I’ll walk you through all the steps, all the same.
I’ll be explaining how to get the 4-Timer Refit in Destiny 2 by breaking down Should You Choose to Accept it Part 4 step-by-step. If you’re only interested in where the Exo is in Operation: Seraph’s Shield, jump ahead to that section. Otherwise, get yourself prepped for about an hour or so worth of work.
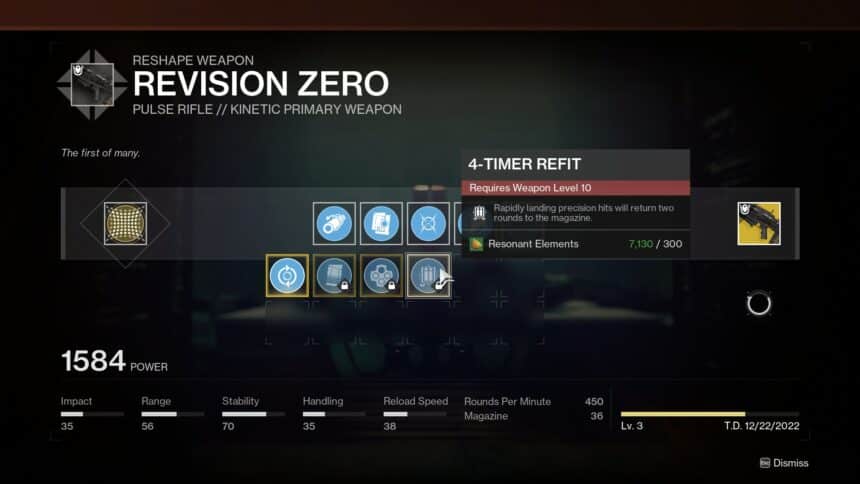
Destiny 2 4-Timer Refit – How to Complete Should You Choose to Accept it Part 4
Step 1 – Complete Operation: Diocles

The final step of Should You Choose to Accept it starts out with, believe it or not, an Operation: Diocles. You’ve done plenty of these by now, so this really shouldn’t pose a problem for you at this point.
If it does, Void Hunter with Gyrfalcon’s will tear through everything in sight, as will HOIL Titan and Starfire Warlocks.
Get through the mission, kill the Adds, kill the boss, download the index, and go about your day.
Step 2 – Head to the Cosmodrome

This week’s 4-Timer Refit quest takes us to the Cosmodrome. Just like in previous quest steps, this will update immediately upon booting up the Cosmodrome loading zone.
Step 3 – Complete Patrols and Kill Enemies in the Cosmodrome

After you land on the Cosmodrome, you’ll need to complete Patrols and Kill enemies to decrypt a cipher. from what I can tell, it’s still 1% for a kill and 10% for a bounty. My advice of doing Public Events from weeks prior still stands here – it’s the fastest way to spawn lots of Adds in a Patrol zone, making it the fastest way to complete Should You Choose to Accept it Part 4.
You’ll obviously need to get the tracker in this quest step up to 100, which should take one or two Public Events. Keep in mind that the Cosmodrome is a starting area, and there will be a bunch of experienced players there doing this quest for a little while after it goes live. Expect to compete for your kills.
Step 4 – Complete Exodus Garden 2A

Once you’ve fully decrypted the Cipher, you’re on to this quest’s Lost Sector. This time around, it’s the Exodus Garden 2A which is as much of a tutorial Lost Sector as anything you’ll find on the EDZ. In fact, Bungie actually added an in-game ramp-up to the Sector so that newer players could find it easily – it’s the Blueberry introduction.
You’ll cut through this Sector like butter. Once you do, go open the chest and you’ll see the decryption terminal right behind the chest, just next to the exit.
Step 5 – Find the Schematic in Legend Operation: Seraph’s Shield

This is the last time you’ll have to complete Operation: Seraph’s Shield on Legend, so rejoice if you’ve been struggling up until now.
I want to preface this quest step with a warning – don’t accidentally launch the mission on normal. It’s been a few weeks of this now, so if you’re in a routine like me, you might just forget to make the switch to Legend. If you do that, the Exo for the schematic won’t spawn. I didn’t realize until I got to the Exo, towards the end of the mission, so I wasted around 30 minutes or so.
That Exo is located just after you surrender your weapons to the Fallen. When you end up in the Ketch, get your weapons back and kill the Adds. In the room in front of your cell – the main hallway, there are six cells. There are three on the left, and three on the right. The Exo is in the second one on the right. If in doubt, just run around checking all of them. You’ll get an objective marker when you’re close enough.
Step 6 – Complete Operation: Seraph’s Shield on Legend

Once you get the Schematic off the dead Exo, all that’s left is for you to complete the mission altogether. I’ve been praising Grand Overture for this mission, but this week I decided to see just how far I could push that weapon with an Arc build. Any time I fought a boss, I had Font of Might and High-Energy Fire active, as well as Weakened Clear. When I say rocket volleys with those buffs melted, I mean they melted anything I hit.
Bosses, Brigs, it didn’t matter. So, if you’re struggling with DPS, that might be a decent build to run – it even takes care of the turrets in a handful of shots.
Either way, finish off the mission and collect your 4-Timer Refit from the chest. Then you can sit back, relax, and enjoy your fully upgraded Revision Zero.


