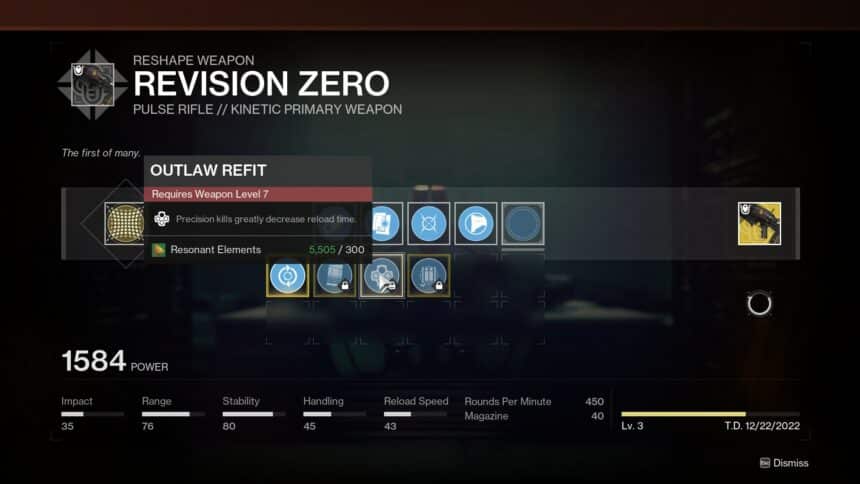
The Outlaw Refit in Destiny 2 is a reward for completing Should You Choose to Accept it Part 3. This follows on from parts one and two, which saw us receive the Frenzy and Pressurized Refits. The Outlaw Refit, in my humble opinion, is far superior to these two. However, you do need those two to get access to the Outlaw Refit, so make sure you do them first.
Assuming you have Should You Choose to Accept it Part 3 sitting in your quest log, you’ll have about an hour’s worth of work ahead of you. I’ll be doing what I can to make that time as painless as possible by going over the quest step-by-step.
Destiny 2 Outlaw Refit – How to Complete Should You Choose to Accept it Part 3
Step 1 – Return to the Archimedes Annex to Download New Cryptographic Intel
After completing week six of More Than a Weapon, you should be prompted to take Should You Choose to Accept it Part 3 from Rasputin in the H.E.L.M.
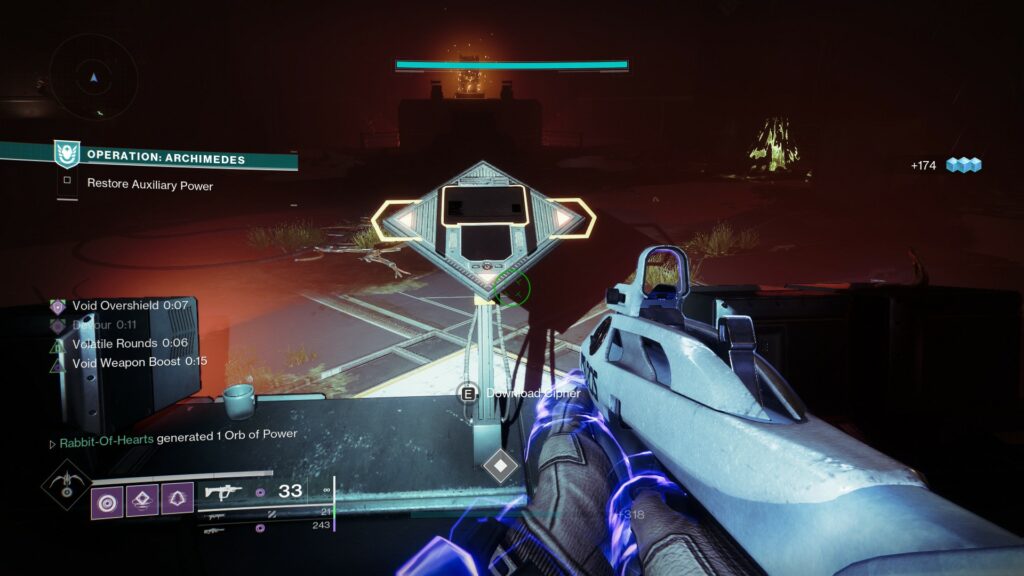
Part 3 is going to play out the same as parts one and two, for the most part. As always, your first stop is going to be Operation: Archimedes from the H.E.L.M. Directors map. There’s practically no difference between this mission and every other time you’ve run it, so this shouldn’t pose any issues for you.
Step 2 – Head to the EDZ

After you complete Operation: Archimedes, you’ll be heading to the EDZ. Just like with parts one and two, your quest will update automatically while you’re in the EDZ loading screen to land on the planet.
Step 3 – Complete Patrols and Kill Targets on the EDZ
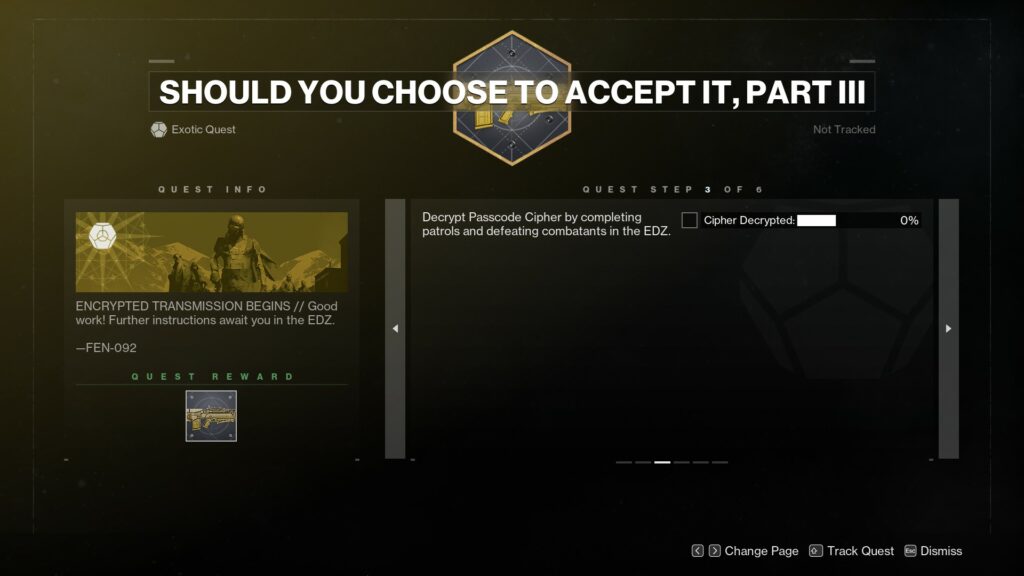
This is also the same as it has been in other weeks. You’ll need to complete patrols and defeat enemies in the EDZ to decrypt a passcode cipher.
Every enemy is worth roughly one percent, with patrols being worth 10 percent. In previous weeks, all I did was jump into a Public Event to complete this step. The number of enemies you tend to kill in Public Events is typically enough to get this done with no hassle.
However, the EDZ is a beginner area. So, Public Events are significantly easier here than they are elsewhere in the Solar System. It took me over two Public Events on the EDZ to complete Should You Choose to Accept it Part 3’s third step, so bear in mind you might find this a tad bit more frustrating than it was in previous weeks.
Step 4 – Finish the Terminus East Lost Sector

Once you’ve completed step three, you’ll need to upload the cipher to a terminal in the Terminus East Lost Sector.
This Lost Sector is one of the three introductory ones – making it one of the easiest in the entire game. No regular Lost Sector is going to pose much of a challenge, but when I say you can run this in 30 seconds, I fully mean it.
You’ll find the Lost Sector itself off to the side of the EDZ Church, and the terminal you’re looking for is located right next to the chest at the end of the Sector – it’s impossible to miss.
Step 5 – Find the Schematic in Seraph’s Shield on Legend

That’s all the easy stuff done. Now, you’re going to have to jump back into a Legend Operation: Seraph’s Shield to find the next weapon schematic on a dead Exo.
The Exo for Revision Zero’s Outlaw Refit is located in the first boss room – the one with the three Brigs. It’s possibly the toughest part of the entire mission, so you should know what section I’m talking about.
Finish that encounter so that enemies aren’t bothering you. Then, head back over to the door you entered the room from. With your back to the door, as if you were just entering the room for the first time, hang a right and look for an open doorway (pictured above from the central platform). The Exo is just inside that section on the ground.
Once you’re close enough to the Exo, you’ll get a marker on your screen. So, if all else fails, run around the edge of the room and wait for that marker to appear.
Step 6 – Finish Seraph’s Shield on Legend

Once you grab the Outlaw Refit from the Exo, all that’s left is finishing out this run of Legend Operation: Seraph’s Shield.
Remember, it’s actually easier to complete this mission solo. If you are solo, don’t be like me and forget to slot Solo Operative on your class item.
On top of that, I recommend something capable of extreme burst DPS for this entire mission. Grand Overture makes mince meat out of the Brigs and can wipe the boss out pretty quickly, too. Retrofit Escapade, on the other hand, wasn’t doing nearly the work I was expecting it to.
Don’t underestimate Operation: Seraph’s Shield. You’re three parts into Should You Choose to Accept it, though, so I assume you know that already.


