There seems to be an endless library of Minecraft skins online, each unique by at least one pixel. But have you ever wondered how to make a Minecraft skin? Perhaps nothing online catches your eye, or you have a specific design in mind; how could you create a skin?
This article will explain how to make a Minecraft skin – it’s easier than you think. You’ll need time, patience, the online editor, and a reference image!
What Is A Minecraft Skin?
If you don’t know what a Minecraft skin is, it’s how your character looks in Minecraft. It’s the most significant way to personalize your character so that friends can recognize you. For example, the most popular Minecraft YouTubers can be recognized by their Minecraft Skins.
There are many websites with endless libraries of Minecraft skins available to download. In addition, you can search a keyword to find unique themed skins – anything from fantasy to Star Wars to real life.
The great part about making your own skin is that they aren’t set in stone. You can easily do it online if you get over a specific look or want to change it to a holiday theme. In fact, holiday seasons are one of the biggest reasons why Minecrafters want to customize their skins. Skin editors allow players to change the color of their shirts to match the season or add a hat. Alternatively, you might want a skin that matches your texture pack. The sky is the limit when making your own Minecraft skin.
How To Make A Custom Minecraft Skin
You need to follow only three steps to learn how to make a Minecraft skin. These are:
- Open the Minecraft skin editor
- Create your design
- Download your skin and upload it to Minecraft.net
All you need before you make your own Minecraft skin is an internet connection and a reference image for your skin. You might also need time and patience if this is your first time working with a skin editor.
Step 1: Open A Minecraft Skin Editor
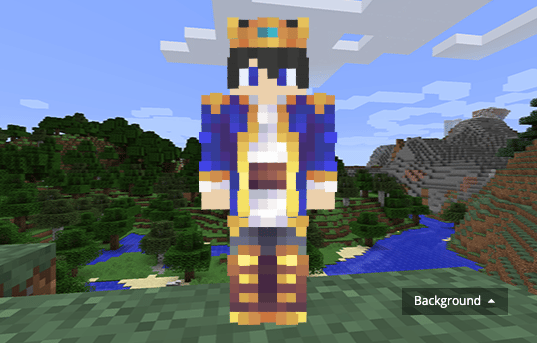
Image Via Skindex
The first step is to find a Minecraft skin editor. While there are a few options, the Skindex Editor is the most popular. The best part about the Skindex Editor is that it allows you to choose a base character to work with.
Familiarise yourself with the tools. These include the pen, eraser, gradient and bucket tools. You can also edit specific parts of your character’s skin at a time, like the leg or arm.
Step 2: Create Your Design
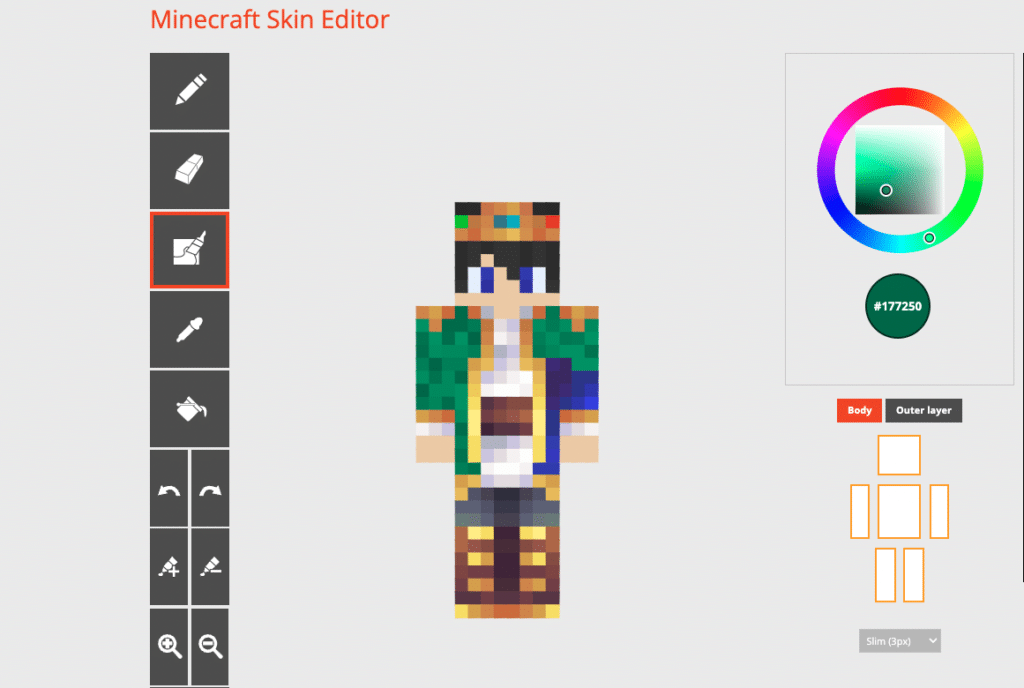
Image Via Skindex
Step 2.1 – Get Familiar With the Tools
The tools you use will depend on the skin editor you’ve chosen. However, the essential skin editor tools include ‘rotate,’ ‘erase,’ ‘draw,’ and ‘fill.’
Generally, the brushes will allow you to edit a single pixel at a time while the paint bucket fills the entirety of the section you’re editing, such as an arm or leg.
There are also most likely undo and redo buttons, so play around and get comfortable with the tools before diving head first!
Step 2.2 – Pick a Base Model
It’s a good idea to pick a base character to start from. Head over to minecraftskins.net and select a skin to start with. Then, head over to your skin editor and upload the skin.
Doing so will give you a great starting point like we did. In addition, you won’t have to create a skin from scratch, which is extremely helpful for beginners.
Step 2.3 – Choose a Color Palette
To add texture and depth to Minecraft skins, use multiple shades of the same color for the characters’ clothes. Use the paintbrush to add 3-5 colors to the shirt, and the paint can fill in large sections quickly. Many skin editors have tools for shading, such as spray paint or lighten/darken color tools. To use these tools, select a color in the palette and adjust the brightness as needed. A helpful tool for color palette ideas is available.
Step 2.4 – Customize the Face, Hair, and Clothing
To create a character’s head, choose 3-5 colors for the color palette and place the eyes, mouth, nose, hair, and other details on the head. When coloring the torso, use a darker shade of the shirt color to outline each surface and a lighter shade to fill in the shirt. Consider adding shading for depth and realism. Don’t forget to rotate the character and use the undo button to remove mistakes.
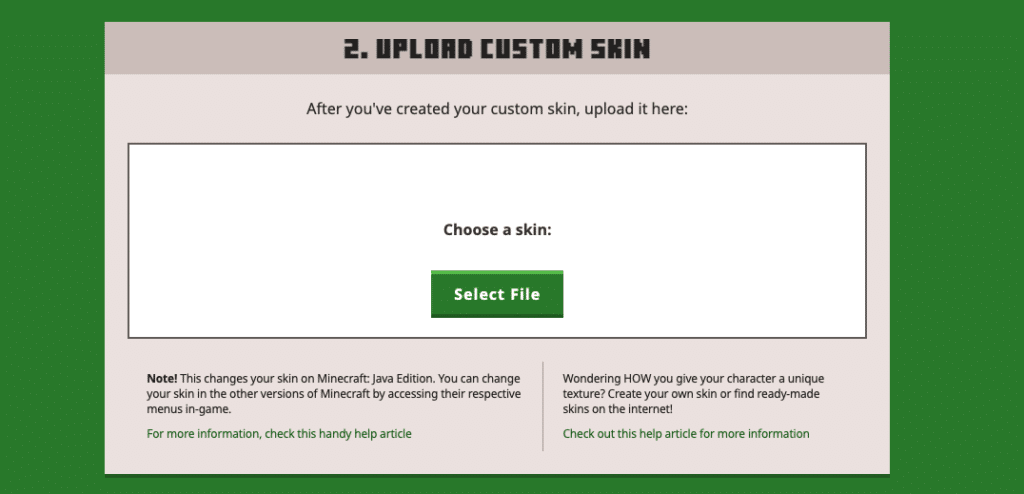
Step 3: Upload To Minecraft
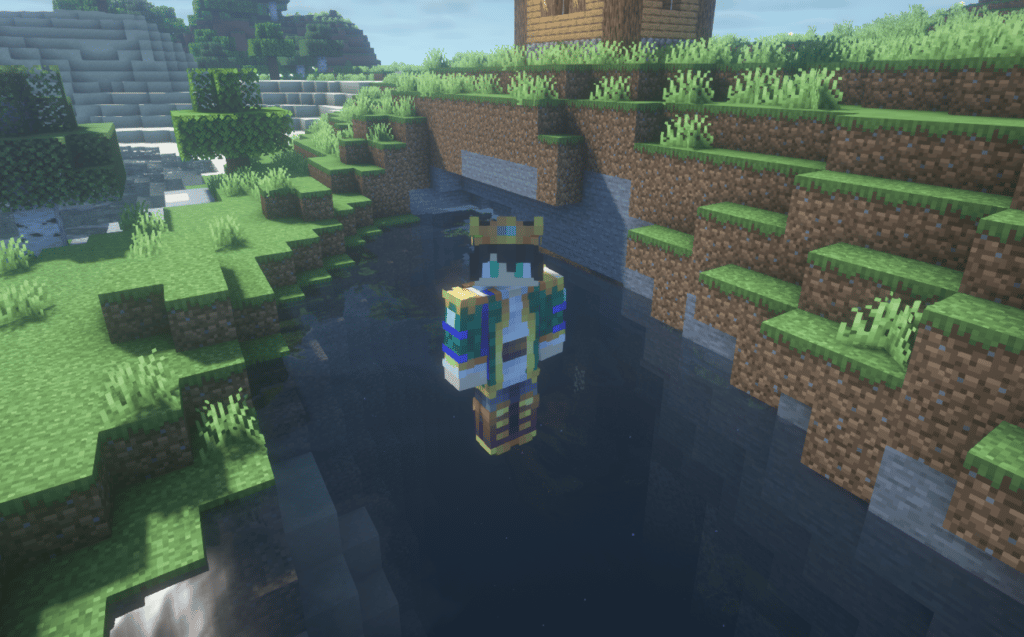
Once you’re happy with the design, simply hit the download button, and it’ll save a flattened png version of the skin. Alternatively, you can upload it to Skindex to share it with others.
The last thing you’ll need to do is log into Minecraft.net and change your skin online. To do this, head over to your profile and select “Change Skin”. You’ll be taken to a new page where you can upload the PNG file under custom skins.

Once that’s done, your skin will be updated the next time you log into the game. Luckily, there’s no waiting period between changing skins. So, if you’re not happy with how your skin looks in-game, go back to the editor and make the necessary adjustments.
Final Thoughts
We really hope this article has helped you create your own Minecraft skin easily. Luckily, you don’t need to have any technical, creative, or artistic skills to make the perfect skin! Plus, you won’t have to download any fancy software since everything can be done online.
We’d love to see what you come up with, so don’t hesitate to share your Minecraft skins with us!


