Over the years, Animal Crossing New Horizons has become a game known for its creative possibilities. From simply arranging buildings to making mesmerizing entrances, players go wild with turning their islands into works of art.
But one important factor in transforming your deserted island into an inhabited home is putting down paths and roads. Surprisingly, this feature isn’t immediately available to players from the start. So if you’re an ACNH newbie and have been wondering how to make paths in Animal Crossing, let us lead you to the path of enlightenment…on making paths!
Grab your metaphorical hard hats and let’s go!
Steps on Unlocking Paths in Animal Crossing
Here are all the steps you need to follow to unlock paths in Animal Crossing
Step 1: Get a Three-Star Island Rating
The path to, err, paths isn’t quick and easy, unfortunately. Before you unlock this feature, you have to improve your island rating first.
The goal is to get a three-star rating and have a special guest visit your island (Spoiler Alert: It’s K.K. Slider). This can be a long, time-consuming road where you have to make sure you have enough buildings, villagers, flowers, trees, and decorations around your island.

To check your current island rating, simply visit Isabelle at Resident Services and talk to her about “island evals.” She’ll give you hints on what you need to do, as well as feedback from other characters.
Step 2: Get the Island Designer App From Tom Nook
After achieving a three-star rating for your island and getting serenaded by K.K. Slider, Tom Nook will drop by to give you the long-awaited Island Designer Construction Permit in the form of the Island Designer app on your NookPhone.

This permit will let you create pathways and even shape or terraform your island. But we’re not here for cliff construction or waterscaping – we’re here for paths!
You’ll only be able to use two paths at the start (Grass and Dirt) but you can redeem more designs later. Here’s how to use this feature:
- Press ZL on your controller and go to the Island Designer icon. Pick “Start construction!”
- Press + on your controller to pick the path design that you want.
- Press ‘a’ while facing the area or ground where you want the path to be.
- To erase a path, use the Grass path or the same path design on it.
- To give your path a rounded edge, carefully apply the path again on its corners.
- To exit construction mode, go to the app again and pick the option that says you’re done.

Step 3: Unlock More Path Designs
Knowing how to make paths in Animal Crossing is just the start. As soon as you unlock more designs, you’ll be leveling up your path game!

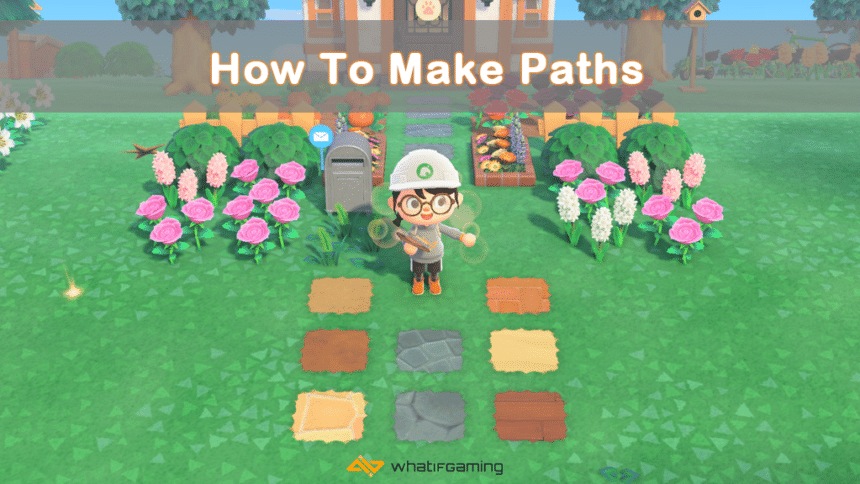
You can get more path designs by going to your Nook Stop at Resident Services and redeeming them using Nook Miles. The remaining paths are Stone, Brick, Dark Dirt, Arched Tile, Sand, Terra-Cotta Tile, and Wooden, each for 2,000 Nook Miles, while Custom Design, which lets you use your designs as paths, can be redeemed for 2,300 Nook Miles.

Applying paths on the ground will need some getting used to, but with a little practice and patience, this feature will lead you to a better-looking island!


