Taking screenshots with an HDR monitor can be tricky. Chances are that your friends have told you that the colors are overblown. That’s because anyone viewing HDR screenshots on an SDR screen will not be able to see their true punchy colors. So how do you take HDR + SDR screenshots in Windows 11 at the same time? Thankfully there’s a native fix for this problem.
HDR displays colors on a wider color gamut and higher brightness compared to SDR. Hence the viewing differences. Let’s take a look at the easiest way to take screenshots for both HDR and SDR formats in Windows 11 without having to install any third-party software.
Use Windows Game Bar
Lo and behold! The solution to your problem resides inside the Windows Game Bar. To take both HDR + SDR screenshots at the same time in Windows 11, you have to follow the following steps:
- Open the Windows Game Bar by pressing the Win + G keys.
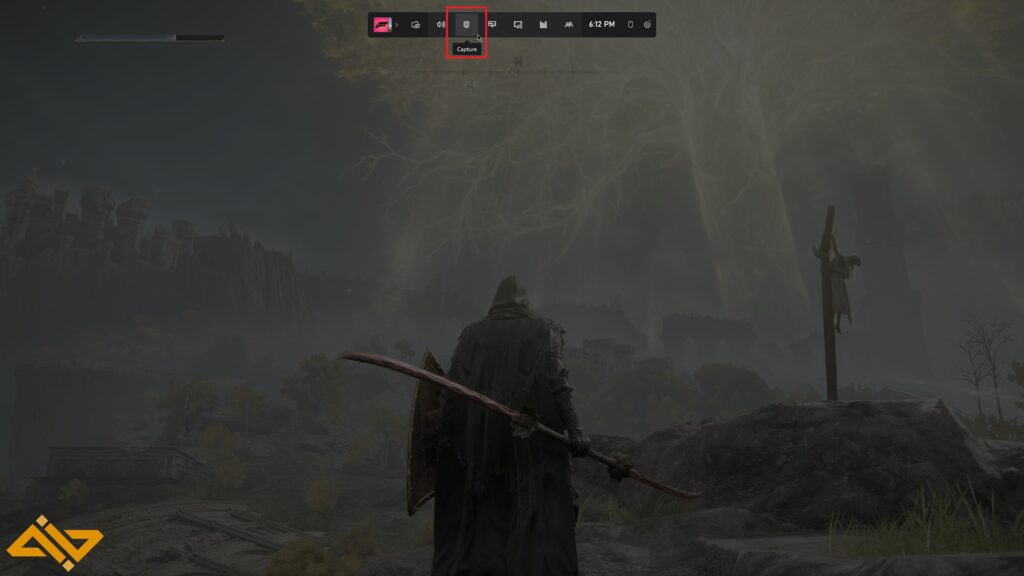
- The Game Bar interface will open up (as seen in the image above)
- Click on the Capture button from the ribbon, and a new pop-up will open.
- There, select Take Screenshot.
Doing that will save two instances of the same screenshot—one in HDR (.jxr format) and the other in SDR (.png format). Now, you can send the HDR to people who also have an HDR monitor and the SDR file to those who don’t use the High Dynamic Range on their screens.
Note: The SDR version of the screenshot often appears to be a bit dark after auto-tone mapping. Make sure you raise the exposure a bit if the image is too dark.
Use the Shortcut
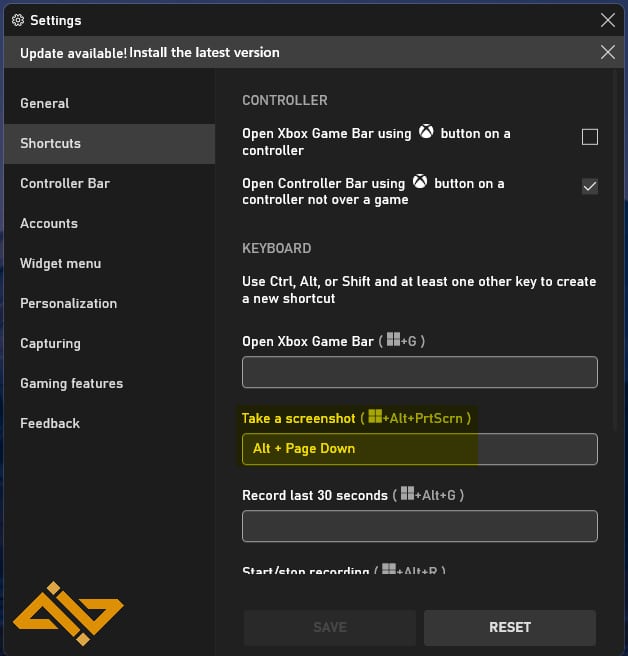
You can also customize the Windows Game Bar’s shortcut keys to assign any shortcut combination of your choice to the Take Screenshot command.
This will allow you to quickly take a screenshot without going into any interface. Press the cog wheel in the right-most corner of the ribbon to access the Settings menu. Then navigate to the Shortcuts menu to see all the options.
These screenshots are saved in the Videos folder in My Documents by default.
This is the easiest way of taking HDR + SDR screenshots at the same time in Windows 11 natively. We hope this quick guide has been helpful and resolved your issue. Keep following WIG for more informative tech tips, game guides, walkthroughs, and reviews!


